


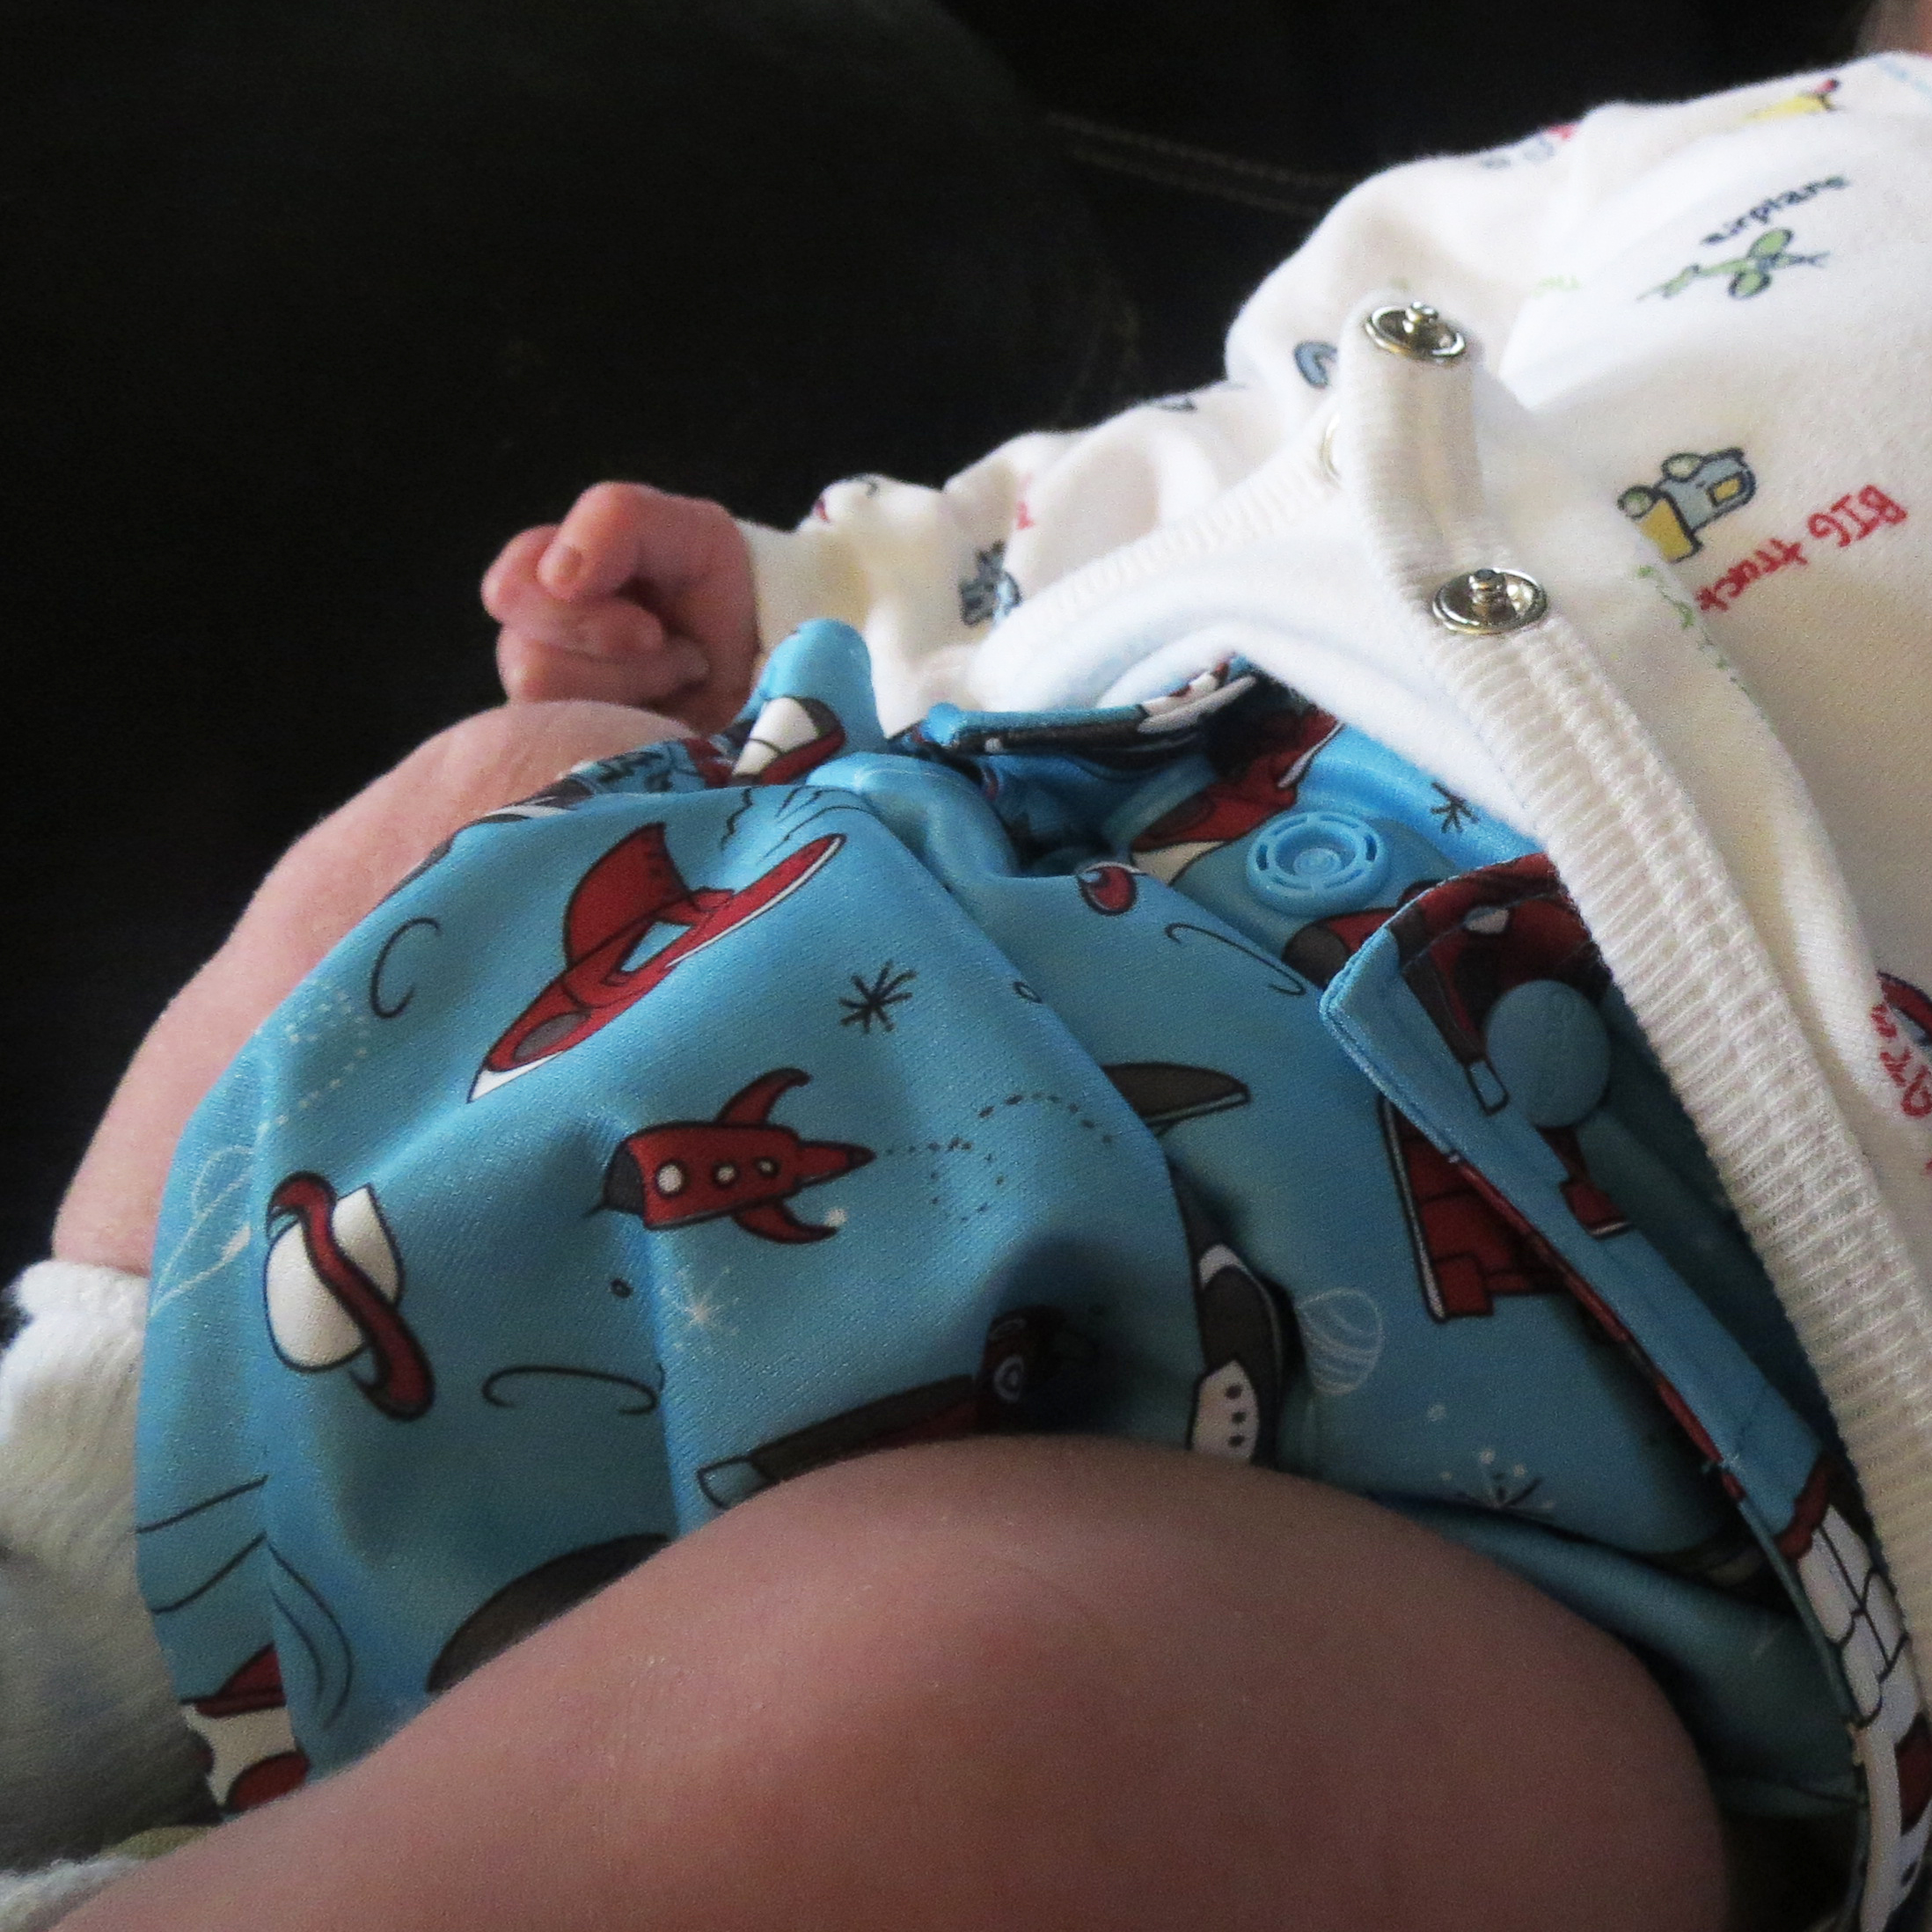
 I just had my fourth child and was very interested in cloth diapering him not only for the cost savings, but to be kinder to the environment and because I thought it would be better for his skin not to be sitting in all of those disposable diaper chemicals.
Learning to cloth diaper is like learning a new language and I had no idea there were so many choices out there. Sheesh! How’s a girl supposed to know what kind of diaper is right for her baby and family’s lifestyle? On paper one brand might seem better than another, but in practice, not so much. So, I would like to share with you what I’ve learned about cloth diapering.
I could never find one comprehensive resource about cloth diapering and what items are needed to cloth diaper full time, so I hope I can provide that to you here. Please post a comment if I have left anything out or if you have any questions and I would be happy to answer them to the best of my ability! Of course, I still have a lot to learn about cloth diapering and I hope we can help each other learn by sharing our resources. There are a couple groups on facebook that discuss cloth diapering exclusively and I invite you to check out Mimi’s Cloth Diaper Q&A for helpful advice from other Moms.
Cloth Diaper Basics
There are 5 main types of cloth diapers. There is no one type that is better than another. They are all good options. One option may be better for your family than another. It’s a very personal choice. When cost calculating, you will want enough diapers for 1-3 days depending on how often you will do laundry. Don’t go more than 3 days or the diapers just get too gross.
 See below for more detailed descriptions of each type of diaper and costs.
- Prefolds or Flats – The type our mothers and grandmothers used. A flat piece of cloth that needs to be folded and fastened. A plastic cover needs to be used.
- Fitteds – It’s made of absorbent cloth and shaped like a disposable diaper and is snapped on to fit the baby. A plastic cover needs to be used.
- Pocket Diapers – It’s shaped like a disposable diaper and is snapped on to fit the baby. There is a pocket in the back of the diaper where an absorbent liner is put in (for wearing) and taken out (for washing). The lining of the diaper wicks away moisture to the liner in the pocket so your baby stays drier, You remove the liner for washing and wash the outer diaper each time as well. No plastic cover is needed.
- All in Ones (AIO) – Everything you need is in one diaper. The liner is sewn in to the diaper. There is nothing to fold or stuff. Similar to a disposable diaper, except that it needs to be washed. The entire diaper needs to be washed after each soiling. No plastic cover is needed.
- All in Twos (AI2) – A cover is purchased that has snaps in it. A liner is purchased to snap in. The liner is washed when soiled and the cover can be used 3+ times without needing to be washed.
What is the difference in price between cloth diapers and disposable diapers? See this post from Baby Works. You can see the cost savings are significant, especially if you cloth diaper more than one year or with more than one child. As an additional resource, here’s a helpful post about how much diapers are at Costco.

Basic Items You Need to Cloth Diaper
In my opinion, this is what you will need to start cloth diapering. This is just a basic list, the needs for your family may be different. Here’s the items we chose.
- DIAPER PAIL & LINER – A stainless steel (or plastic) trash can may be used as a Diaper Pail. I have found Target to be the cheapest. I like the one linked to above the best because it is double insulated to keep the smells out. This is the liner we put in our can. It’s machine washable and you will want to have 2 bags so you can wash one and use one at the same time. The liner has a waterproof interior. OR…
- WET BAG – Many people forgo the diaper pail and just use a large washable wet bag. You can find a variety of wet bags on Amazon. This Grovia wet bag is really awesome. You put the wet diapers in at the top and then unzip the bottom into the washer. Hang this bag on the back of your child’s door or from the changing table. Wet bags generally have a waterproof interior that keeps the wetness in and the smells out. It is not called a wet bag because you put water in it. It’s called a wet bag because there are wet diapers in it. If you need a smaller wet bag for the diaper bag, this one is a good size for Mom’s on the go. It is also machine washable and comes in many different colors and styles. Remember, you will probably want 2 wet bags so you can have one in the wash and one in use at all times.
- DIAPER SPRAYER – We got this diaper sprayer. It has adjustable waterflow and does not need to be hung from the wall, it clips right into the toilet lid. You should be able to install it yourself. It can also be used as a bidet, which might be helpful for postpartum pottying for Mom (extra bonus). You don’t HAVE to have a diaper sprayer if you plan to swish your poopy diapers in the toilet, but I’m not a swisher, I’d much prefer to spray! If you breastfeed your baby exclusively, they say you do not need to rinse your poopy diapers because they are water-soluble, but I still rinse them.
- DETERGENT – You can’t just use any detergent on cloth diaper laundry. There’s a list of safe laundry soaps here. I use Ecos free and clear for “he” (high efficiency) washing machines. You only put in about a tablespoon, so 1 bottle lasts for a long time. It would be a bad idea to use detergent with any scent or fragrances added. This will just irritate your baby.
- RASH CREAM – You need special cloth diaper safe rash cream. I like this one because you don’t need to use your fingers to apply it. If you use “regular” rash cream, it will stain and cause problems with your diaper absorbing in the future. Some cloth diaperists swear by using coconut oil as a diaper rash cream. I have not yet tried it because I am afraid of ruining my diapers, but I assume it would be ok because it’s all natural.
- WIPES – You will need cloth diaper safe wipes. It’s just as easy for me to throw a washable wipe in the diaper pail as it is to use a cloth diaper safe disposable wipe. You may want a wipe warmer if you use the cloth wipes.
Cloth Diaper Reviews & Cost Analysis
This is a list of the main 5 cloth diapers and their cost per diaper. They are my personal choice of the best diaper in their category. You will want to multiply the cost by 7 (as most people on average change their baby 7 times per day). If you change your baby more than that, simply multiply by a greater number.
To compare with disposables, we use 7th Generation Diapers which are on average about .25 cents per diaper. If we average 7 diaper changes per day for 3 years, we would pay around $2,400 for diapers and wipes. On to cloth diaper reviews…
PREFOLDS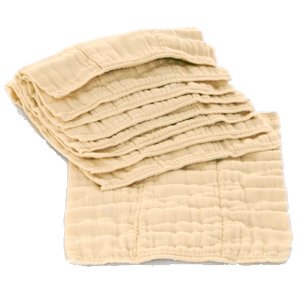
OsoCozy prefolds Size 1 (7-15 pounds) – $2 each
OsoCozy prefolds Size 2 (15-30 pounds) – $3 each
Snappi diaper fastener Size 1- $3 each (or you can use pins for a lot cheaper)
Snappi diaper fastener Size 2 – $5 each (or you can use pins for a lot cheaper)
Bumkins diaper cover (one size) – $11 each
Cost to full time cloth diaper for 3 years 7x per day and washing every 2 days = about $260
Add in laundry costs and the basic items you need ($400 for laundry for 3 years and additional $200 for: detergent, pail, liner, washable wipes, rash cream)= about an extra $600
Remember: You can sell these items used after you’re done with them, so keep that in mind.
TOTAL = About $860
Here’s a video from my Facebook friend Heather about how to put a prefold cloth diaper on your baby with a Snappi.
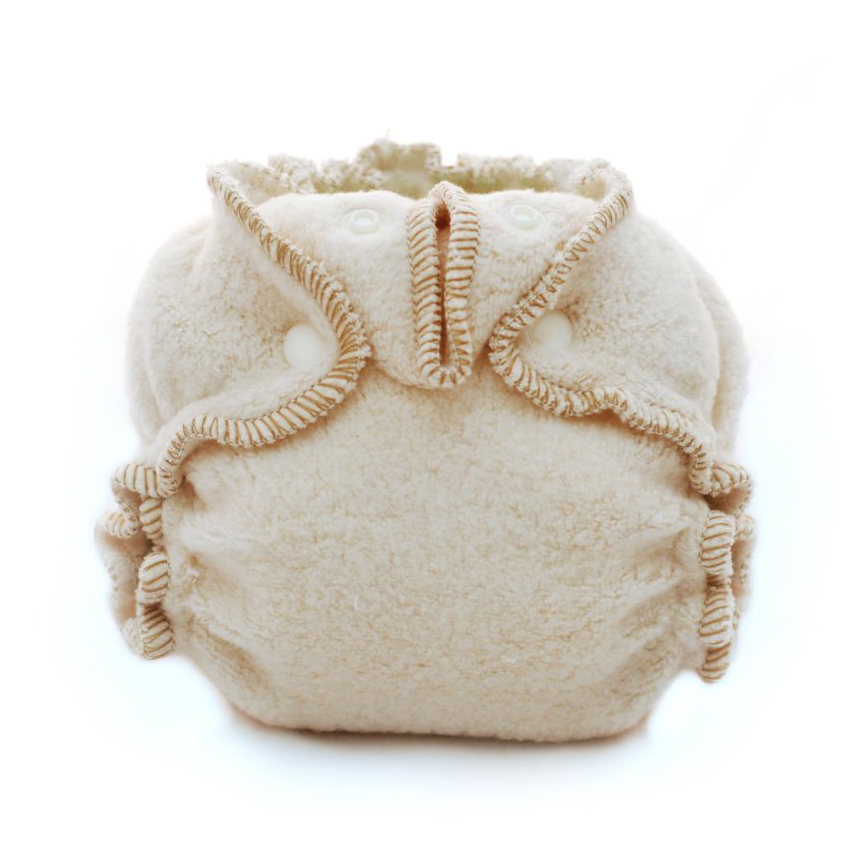
FITTEDS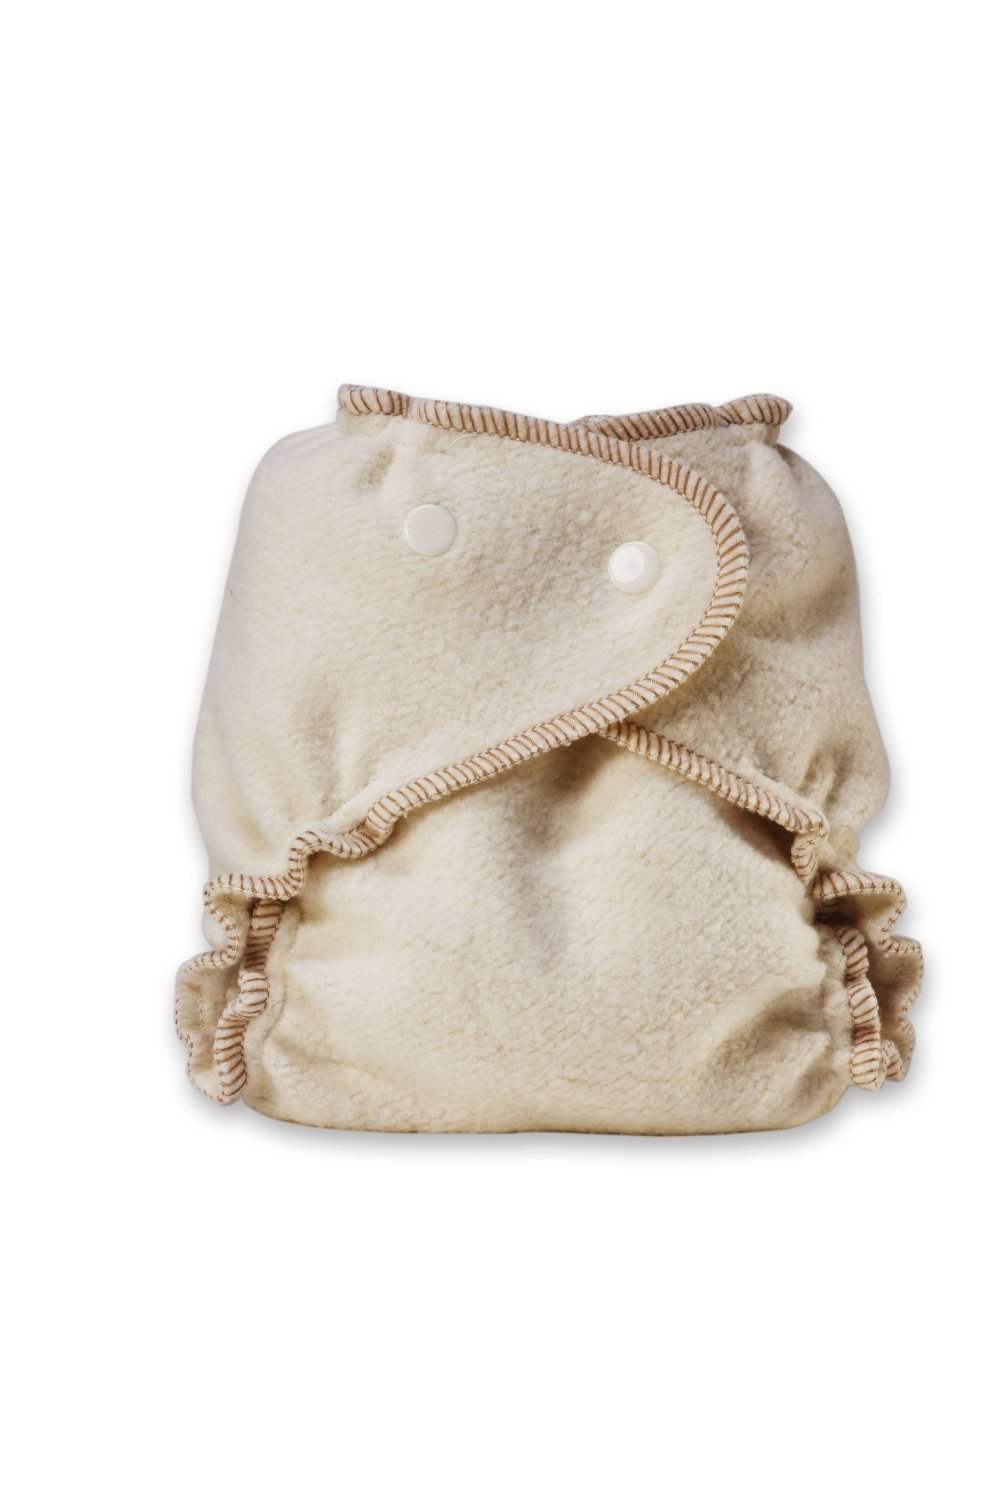
Kissaluvs fitteds Size Small (5-15 pounds) – $19
Kissaluvs fitted Size Med/Large (15-40 pounds) – $19
Bumkins diaper cover (one size) – $11 each
Cost to full time cloth diaper for 3 years 7x per day and washing every 2 days = about $685
Add in laundry costs and the basic items you need ($400 for laundry for 3 years and additional $200 for: detergent, pail, liner, washable wipes, rash cream)= about an extra $600
Remember: You can sell these items used after you’re done with them, so keep that in mind.
TOTAL = About $1285
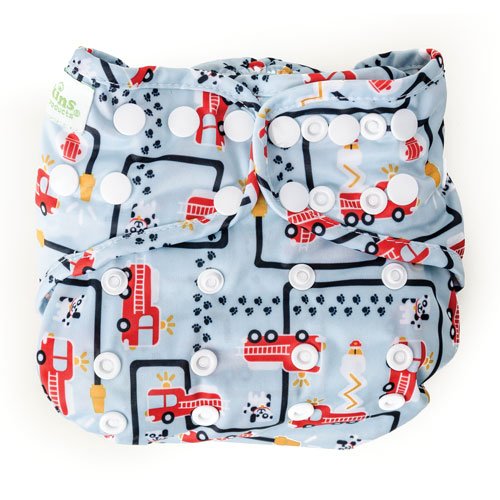
POCKETS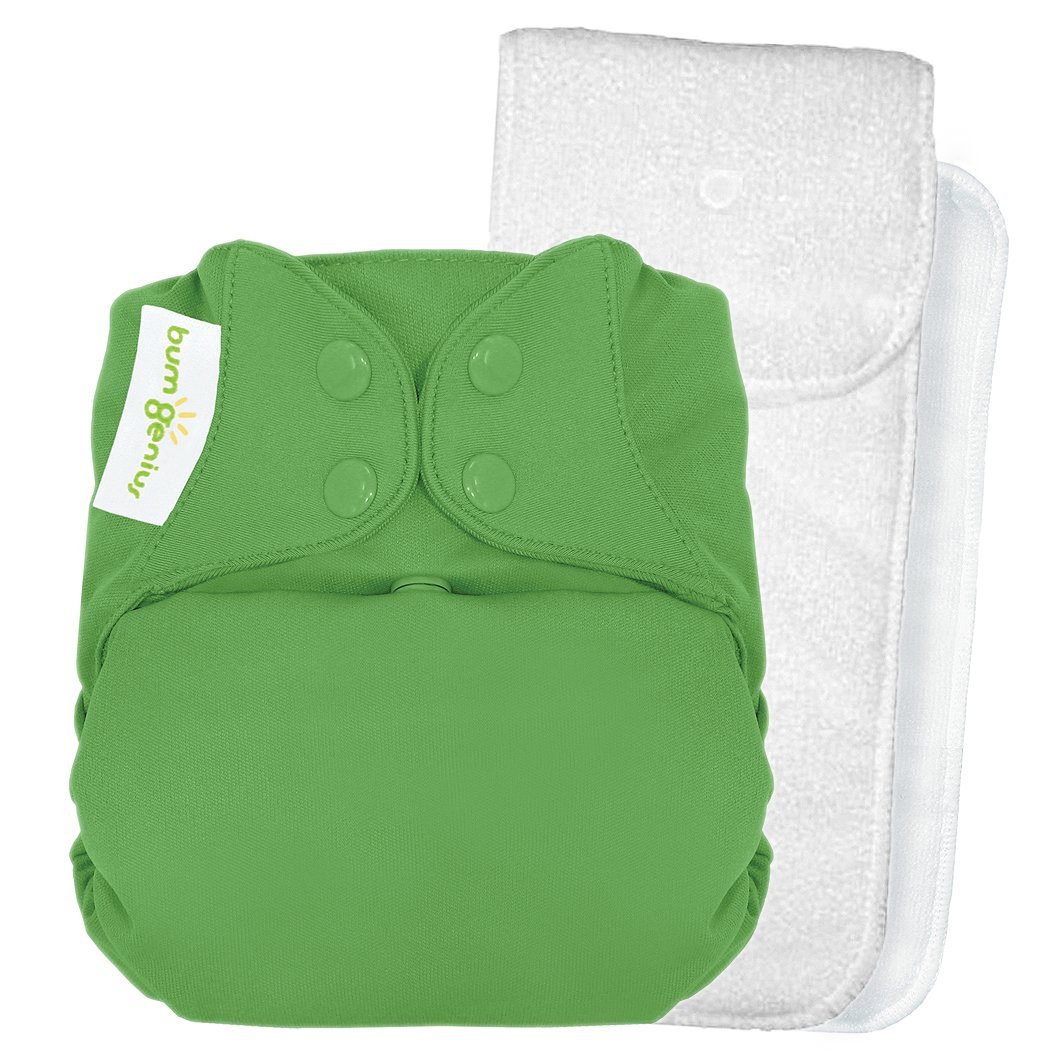
In my opinion, no one size (OS) diapers fit newborns and 3 year olds, even using the special snaps adjusted to the smallest size. Either use a newborn sized cloth diaper for your really little one, or use disposables for a couple months and then go to the one size diapers. They are just too big for little tiny babies.
BumGenius 4.0 pocket diapers (7-35 pounds) -$18
Cost to full time cloth diaper for 3 years 7x per day and washing every 2 days = about $250
You may need to replace or add some liners and/or replace some diapers in the 3 year time period – $150
Add in laundry costs and the basic items you need ($400 for laundry for 3 years and additional $200 for: detergent, pail, liner, washable wipes, rash cream)= about an extra $600
Remember: You can sell these items used after you’re done with them, so keep that in mind.
TOTAL = About $1000
There are lots of brands of pocket diapers. BumGenius is the most popular, but there’s also Fuzzibunz, Alva, Rumparooz, ad nauseum!
ALL IN ONES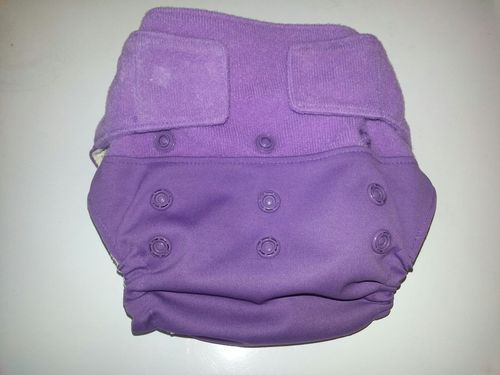
Grovia all in one diapers (liner sewn in) – $24
Cost to full time cloth diaper for 3 years 7x per day and washing every 2 days = about $335
You may need to replace or add some liners and/or replace some diapers in the 3 year time period – $150
Add in laundry costs and the basic items you need ($400 for laundry for 3 years and additional $200 for: detergent, pail, liner, washable wipes, rash cream)= about an extra $600
Remember: You can sell these items used after you’re done with them, so keep that in mind.
TOTAL = About $1085
ALL IN TWOS (HYBRID)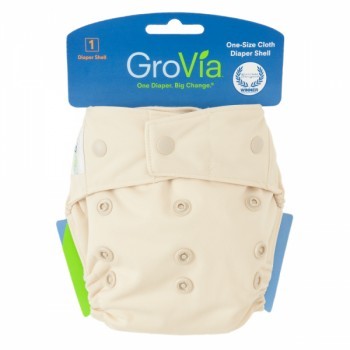
Grovia hybrid shell – $17 (can be used 2-3 times before washing)
Grovia stay dry snap in liner – $9
There are awesome additional items you can choose like flushable liners, disposables that stick into the cover, etc. at an additional cost. But, this makes the system easy for daycares and babysitters.
Cost to full time cloth diaper for 3 years 7x per day and washing every 2 days = about $210
You may need to replace or add some liners and/or replace some diapers in the 3 year time period – $150
Add in laundry costs and the basic items you need ($300 for laundry for 3 years and additional $200 for: detergent, pail, liner, washable wipes, rash cream)= about an extra $500
Remember: You can sell these items used after you’re done with them, so keep that in mind.
TOTAL = About $860
HOOK & LOOP
I personally can’t stand to work with velcro (or hook and loop – which is the generic name for Velcro) with laundry. I hate it. Most of the diapers have fold down tabs that aren’t supposed to stick to other laundry, but they do accidentally. And, I much prefer snaps, so I pretty much have only reviewed snap diapers. I do have one velcro diaper and I hate it because it’s always getting stuck to things like the wipes and to the diaper itself.
LAUNDRY BASICS
You will need to “prep” or prepare your diapers before using them for the first time. You will need to wash and dry them at least 6 times with your cloth diaper safe detergent. After they are prepped and then soiled, the instructions on Grovia’s website are wonderful for a simple wash routine from then on out. Some people swear by insane wash routines and stripping, but according to Grovia, that is not necessary.
CLOTH DIAPER ABBREVIATIONS
There’s like this secret language in cloth diapering and it’s hard to understand if you don’t know the terminology people use in social media. Here’s a little help. If you would like more indepth information of each term, go here to Kelly’s Closet. I would really reccoment perusing her post if you are new to cloth diapering.
CD = Cloth diaper
AIO= All in One
AI2 = All in Two
OS = One size
Aplix = Velcro
PUL = Polyurethane laminate – A plasticy chemical bond (used to hold in wetness)
TPU = Thermoplastic polyurethane – A plasticy heat bond (used to hold in wetness)
If you are a hands on person and want to see each type of cloth diaper, check out my YouTube video.
I hope this post on cloth diaper basics helps you in your quest to cloth diaper your baby. Please post a comment if you have any questions!
1 ping
[…] other children had chlorine allergies. If you are interested in using cloth diapers (see our post here). At our baby shower we were given many of our baby clothes as gifts and purchased the rest used. […]