


 I’ve made a lot of GF dough in my day. I’ve ruined a lot more than I’ve succeeded with. I’ve bought a lot of insanely expensive GF dough in my day. that didn’t taste all that great. I’ve experimented a lot with pizza crust to get the right one and this is it people! I feel like having a party I’m so excited!
This gluten free pizza recipe is so easy, quick, and tastes almost like it’s glutinous wheaty counterpart. Our family is also dairy free, but you can make this pizza however you want. That’s what is so great about it, it’s totally customizable!
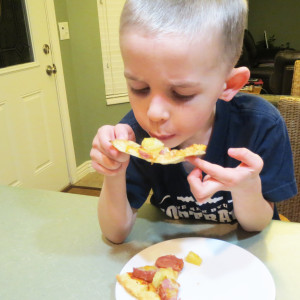
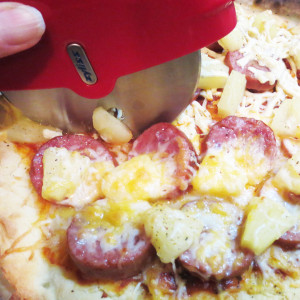
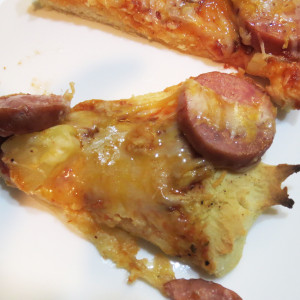
I topped mine with a thin layer of pizza sauce, a nitrite and preservative free smoked pork kielbasa, canned pineapple, and dairy free cheese. You can of course, top yours with whatever suits your fancy. I have 2 kids that are not GF (but at home they are), and they LOVED it and couldn’t even tell the difference. I agree. It tastes homemade, makes the kitchen smell tantalizing, and I think the taste it pretty close to the real thing. Try it out and let me know what you think, I’d love to hear from you!
The recipe was modified from a recipe I stumbled upon on Epicurious. I had all the ingredients on hand, so it worked out nicely. If you need a good gf featherlite flour this one is darn good! If you’re in Utah, you can buy it at Macey’s grocery store in the gf section.

Ingredients
- 2-3 cups gluten free featherlite flour
- 1 tsp. salt
- 1/2 cup almond milk
- 1 pkg. or 2 tsp. dry yeast
- 2 tsp. sugar
- 1 egg
- 1/4 c. good quality olive oil, divided
- 1 tsp. dry Italian spices
- parchment paper
- pizza pan
Instructions
- Put almond milk in a microwave safe dish and microwave for 1 minute or until warm to the touch (but not too hot). Stir in sugar and yeast to the dish you just microwaved and put a paper towel over it and let it sit for a couple minutes until foamy.
- Into an electric mixer with the paddle attached, add flour (start with 2 cups and add more as needed (the dough should be a little sticky, but not so sticky you can't handle it), salt and 2T. olive oil. Add yeast and milk mixture and beat on medium speed until smooth and thick, about 5 minutes.
- Divide dough into 2 pieces and place one on a sheet of parchment that has a little olive oil on it. Press and stretch with your fingers until it is the thickness you desire and fits the area of your pan. Remember, the dough will rise some, so thin is good. If the dough is too sticky, use olive oil on your hands and on the dough to make it easier to work with. Then place parchment with dough on it on a pizza pan or stone. Repeat with other piece of dough. Next sprinkle Italian seasonings on top of the dough.
- Cover the crust with a tea towel and let rise for 20 minutes. Prick doughs with a fork and then bake at 400 degrees for 8-20 minutes (it differs for every thickness). You will have to really watch it, so it doesn't burn. Top as you wish and broil in the oven with the toppings for 3-5 minutes longer.
Here’s what the dough should look like when it’s all spread out on the pan. In hindsight, I would have spread it a little thinner as it rose quite a bit. The thick crust was nice though and we all liked it. You can be liberal with the olive oil as it makes a crispy crust on the outside and a light and airy crust on the inside.

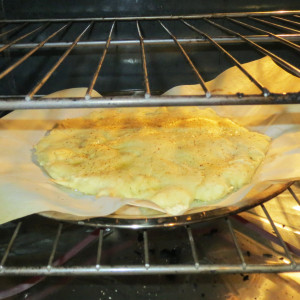
Here’s what the crust will look like when its cooked. It should be light golden brown as it will cook more when the toppings go on.

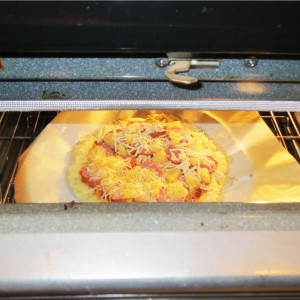
Here’s what it looks like with the toppings on and when it’s first put in the oven.
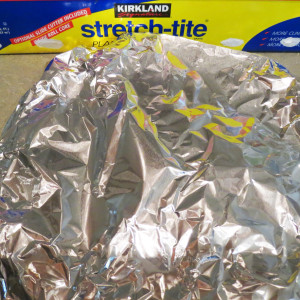
We only used one crust and put the other one in the freezer by first wrapping it in plastic wrap and then in foil.
If you have any questions, please post a comment and I would be happy to answer them!
Disclaimer **Positively Mommy occasionally provides recipes and other information about food preparation. Please keep in mind that it is the reader’s responsibility to determine the value of these recipes, nutritional and otherwise. It is also the reader’s responsibility to determine the safety of the preparation instructions. Recipes are prepared “at your own risk.” We assume no liability, obligation, or warranty with respect to these recipes. Positively Mommy is not responsible for any damage, medically or otherwise, that could result from preparation of these recipes. Visitors must take care to check the instructions provided and determine their value and any possible medical condition that may arise from the preparation instructions and consumption of the ingredients listed in this site’s recipes.