


I have a friend who recently had a baby boy. I wanted to sew her a simple baby gift as she already has other kids and all of the typical baby basics. I decided on a burp cloth.
There are several options, but I opted for the thick, prefolded gerber cloth diapers. I’ll tell you why. I was only giving her 1 diaper (I would have preferred to give a set of 3, but I just didn’t have the time to make them all before I saw her), so I didn’t want it to be cheap quality. I also wanted the prefolded diaper so that I would be sure to sew a straight line. I can’t really be trusted with that generally!
BURP CLOTH TUTORIAL
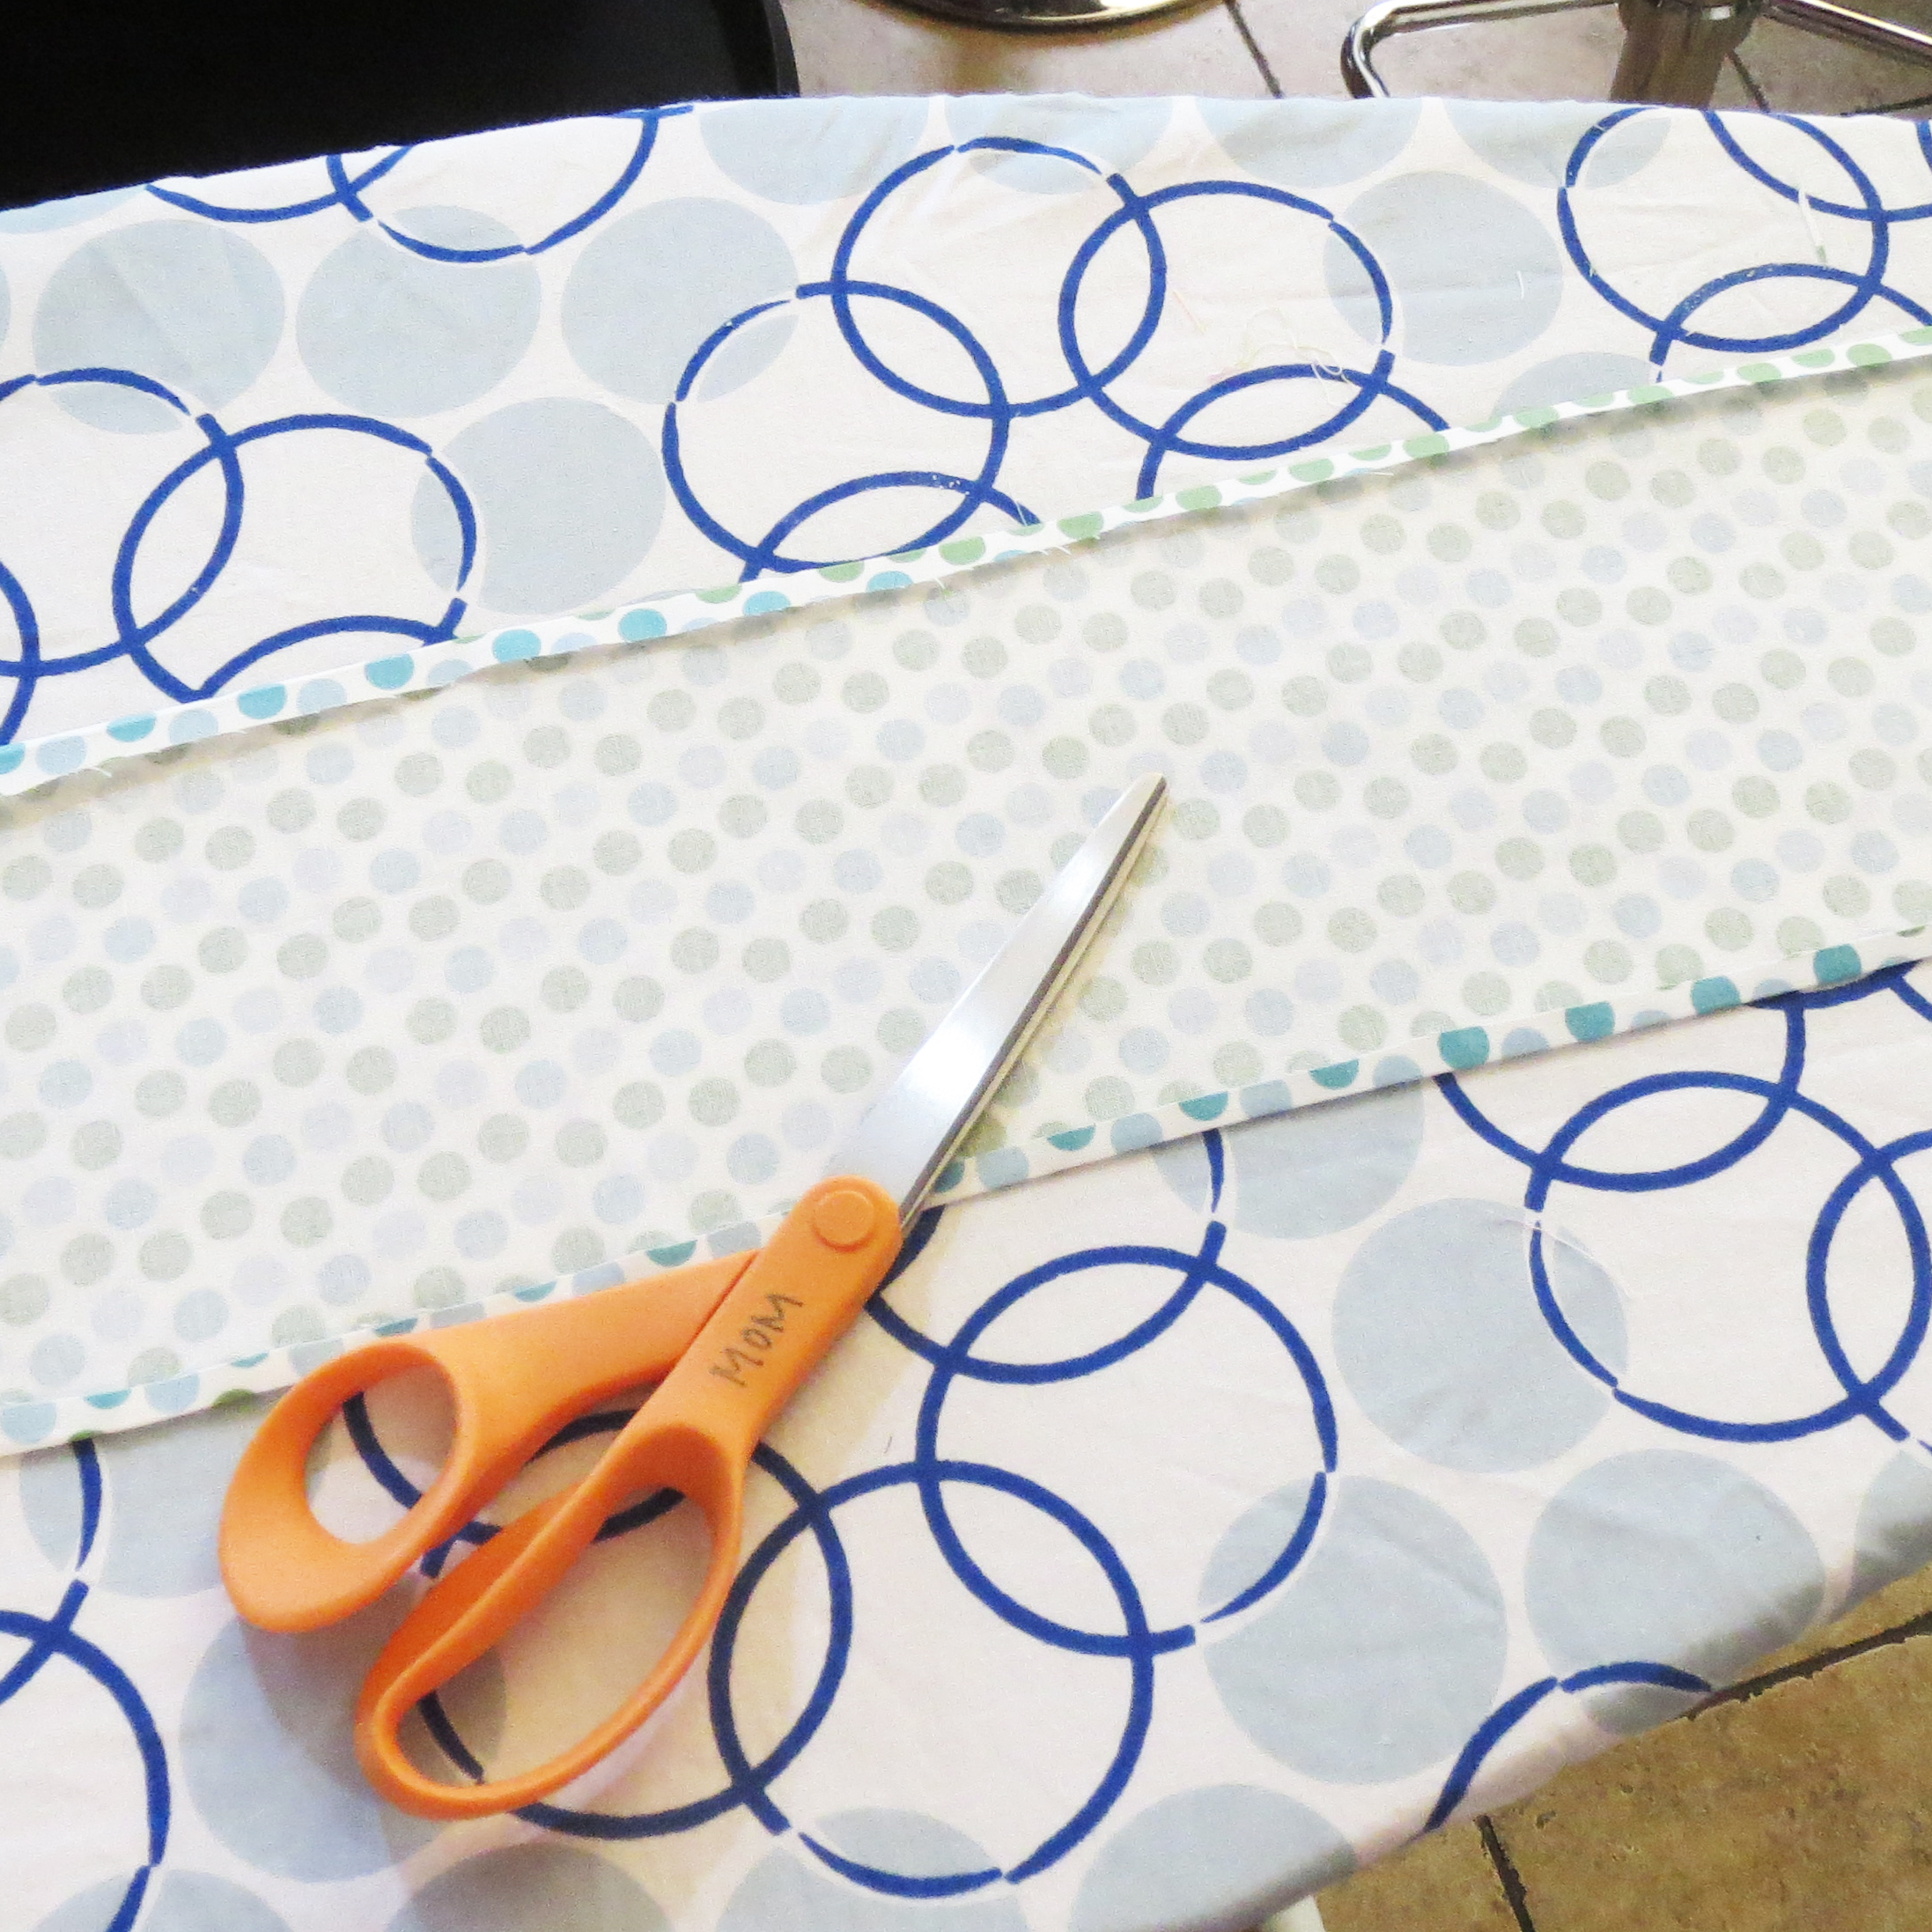
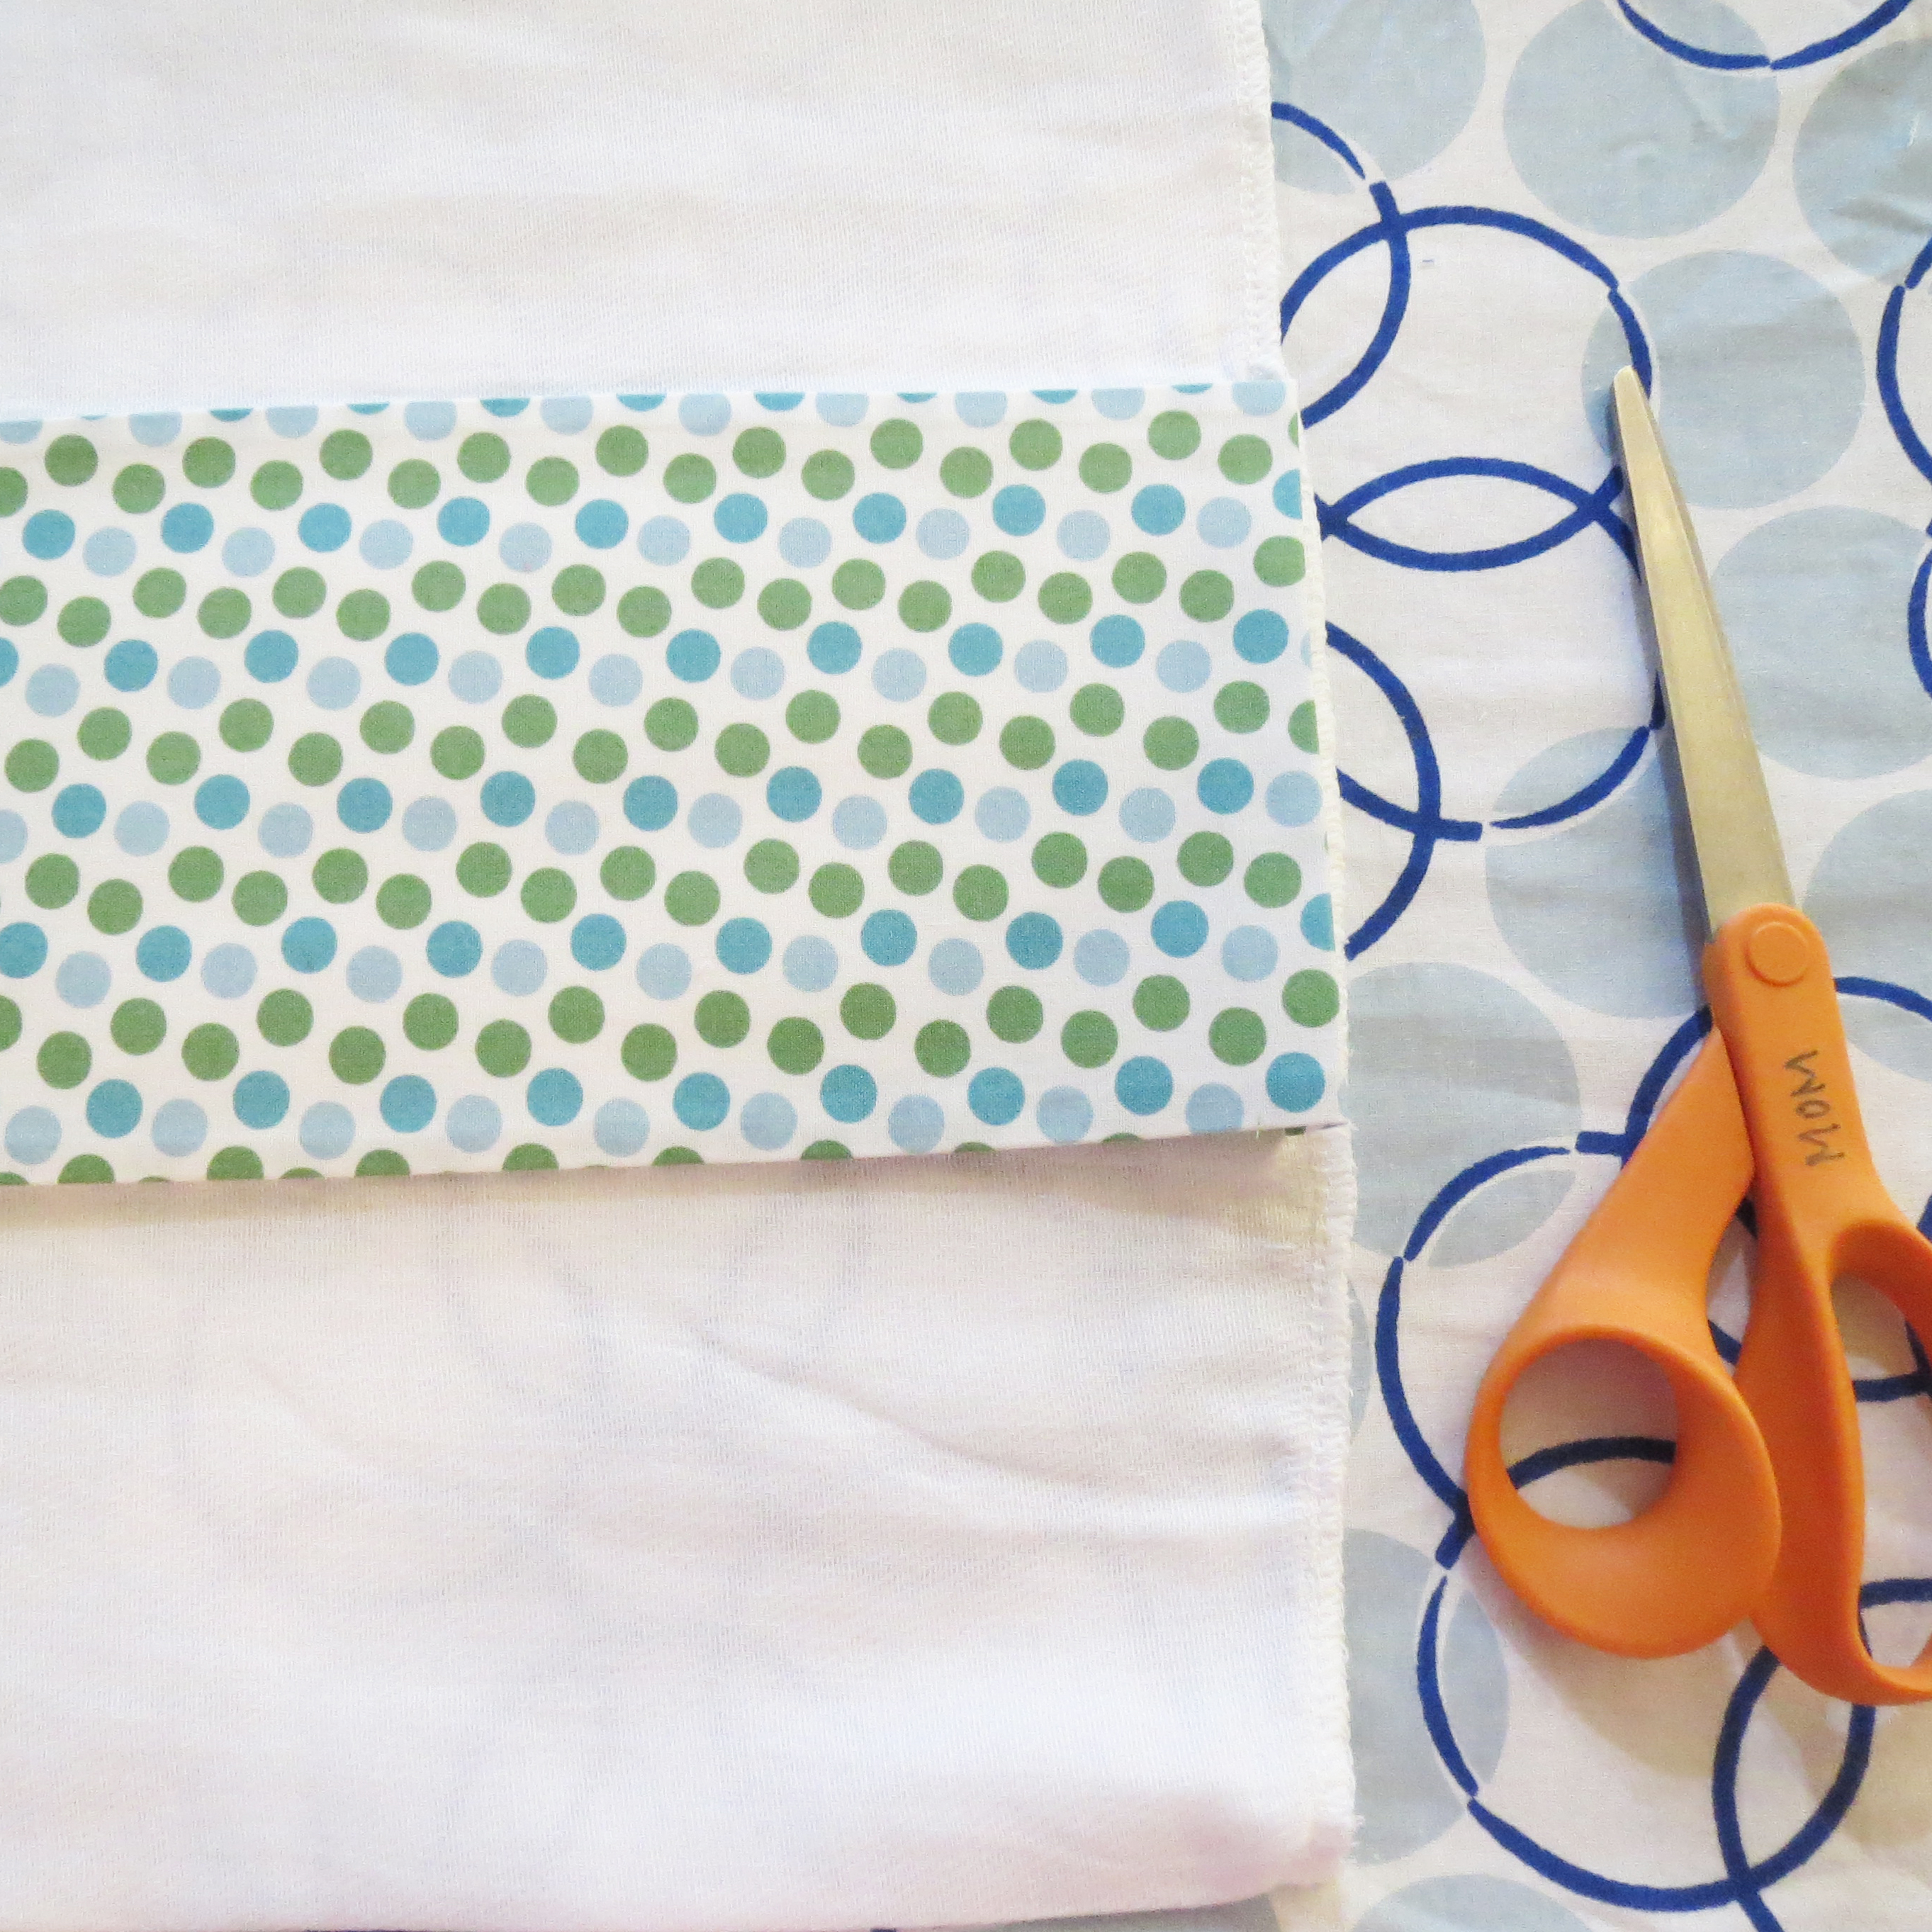
Step 1: measure preshrunk and ironed cotton fabric to match the length and width of the thick fold in the middle of the diaper. Add on 1/2″ seam allowance (so 1/4″ on each side). Iron the seam allowance to make a crease 1/4″ on the sides and top and bottom.
Step 2: Place fabric on center fold of burp cloth and pin securely in place
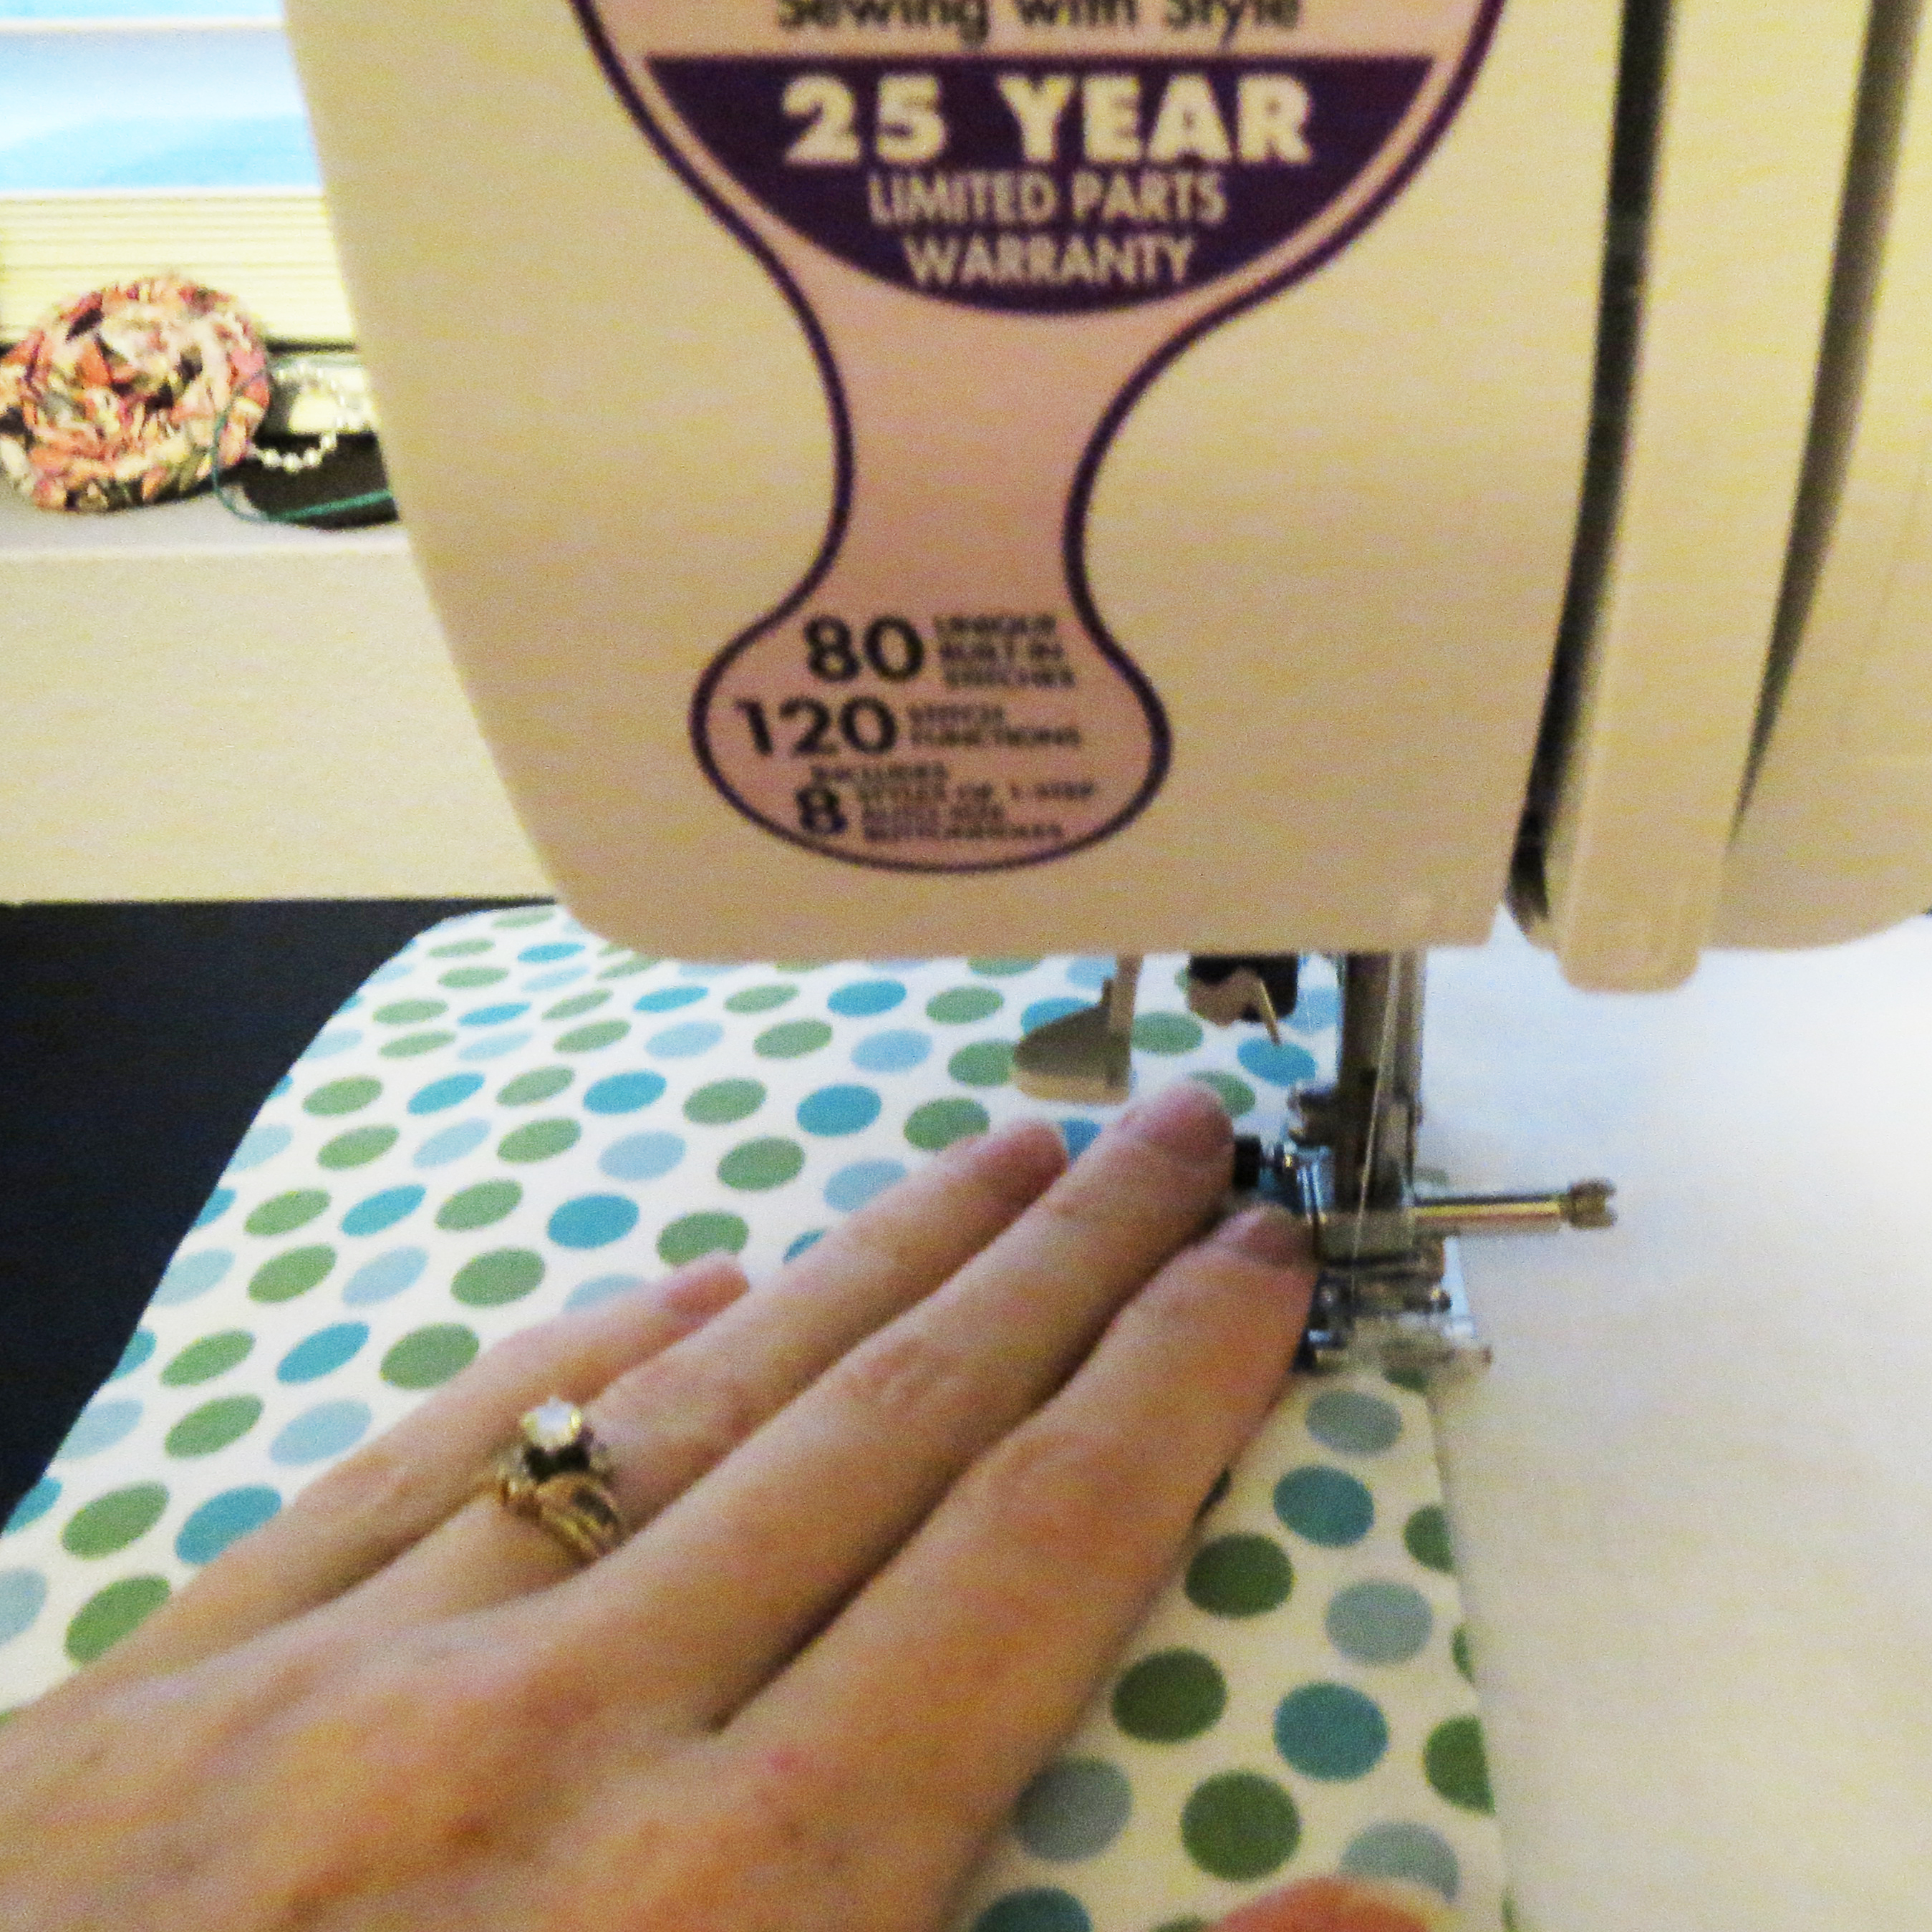
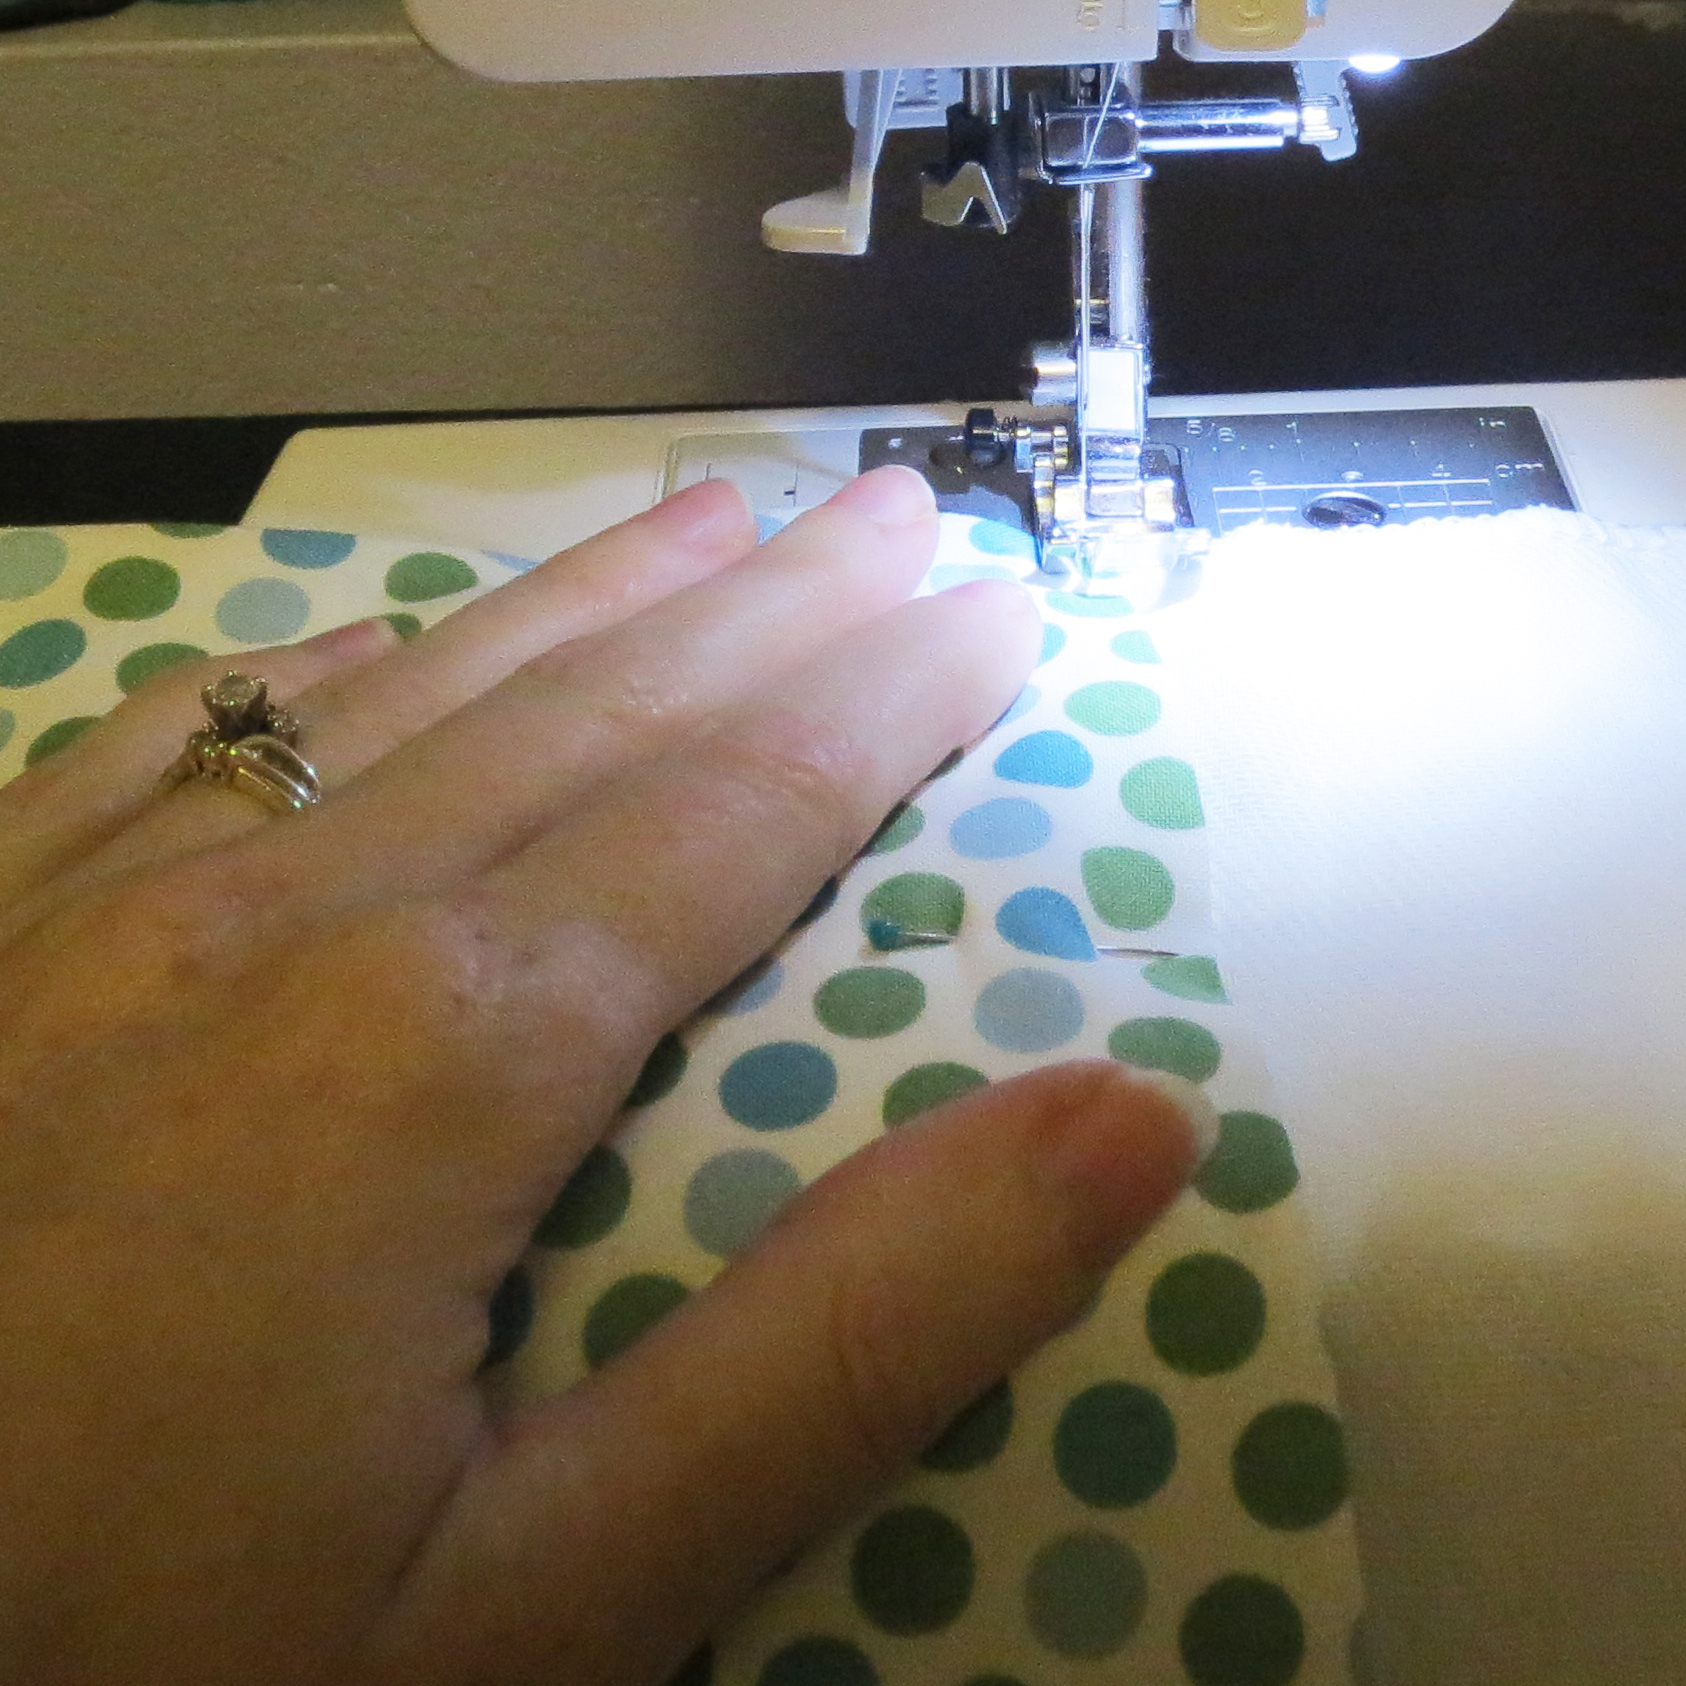
Step 3: With coordinating thread (I used turquoise) on top and white on the bobbin, sew as close to the edge of the fabric as possible thus securing the fabric to the center fold on the diaper. Make sure to use the light on your machine. It will help you get as close to the edge as you can.
Cost: $2 or less
Roll up and tie with a tulle ribbon bow and you’re done! Easy peasy. If you have any questions, please post a comment and I would be happy to answer it. Thanks for reading.