


How to Make Applesauce for Canning (with the skins on!)
Making applesauce is really easy if you don’t have to peel the apples first. There is a fruit stand near my home where you can buy apple “seconds” for $3 for 20 pounds! I have been canning yummy applesauce like crazy because I want to take advantage of that amazing price. I’ve canned 36 pints so far and each pint costs less than a dollar and tastes delicious and has a red hue from the skins of the apples. The quality is so much better than what you can buy at the store. Ask my kids, they’ll tell you! They can eat this stuff by the gallon. I figure it costs about .75 cents per pint to make. If you already have the jars and lids, probably more like .25 cents if you can get the apples at that price.
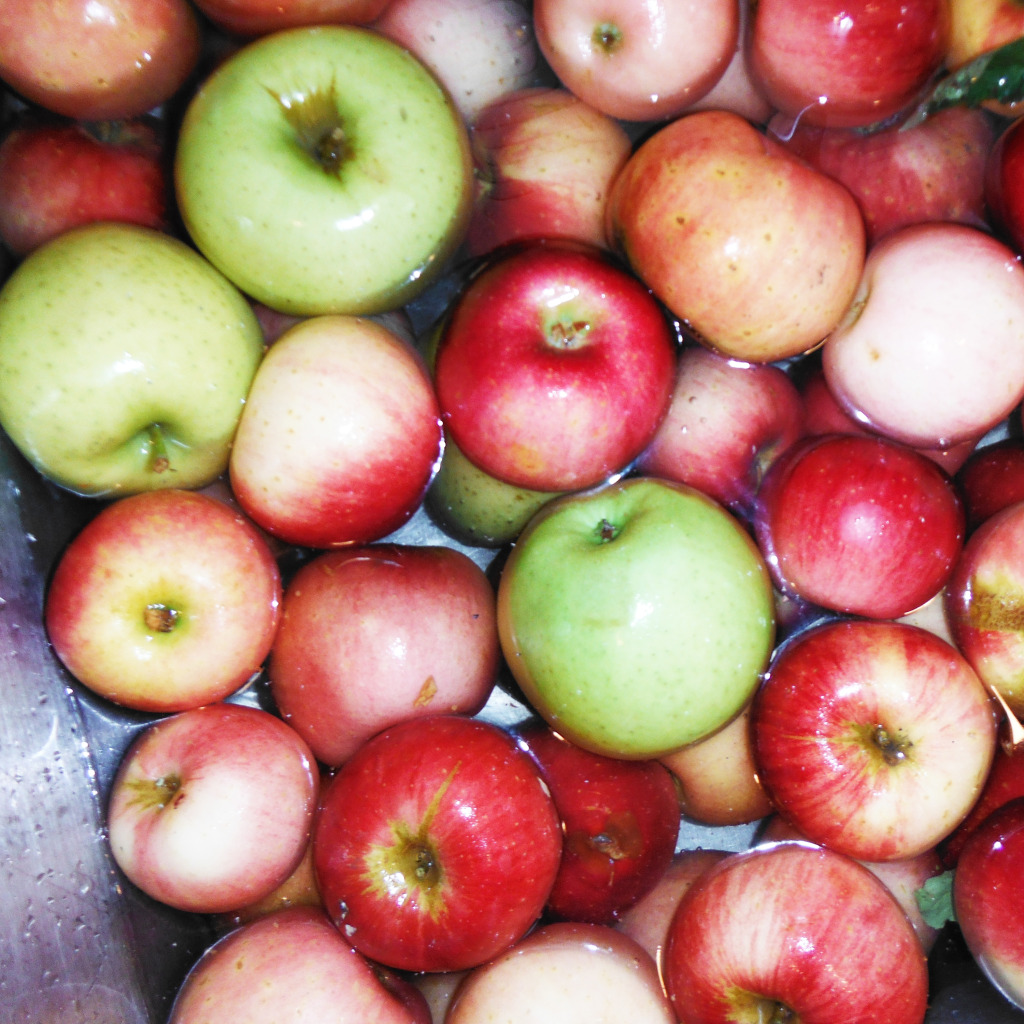
How many apples should you buy? I bought 1 case (about 20 pounds) and used 2 stock pots filled to the top. I used a mix of Jonathan and Golden Delicious. After cooking down, this made 14 pints of finished applesauce.
STEP #1
Wash apples. I fill up one side of my sink with very hot water and just soak them for a few minutes.
STEP #2
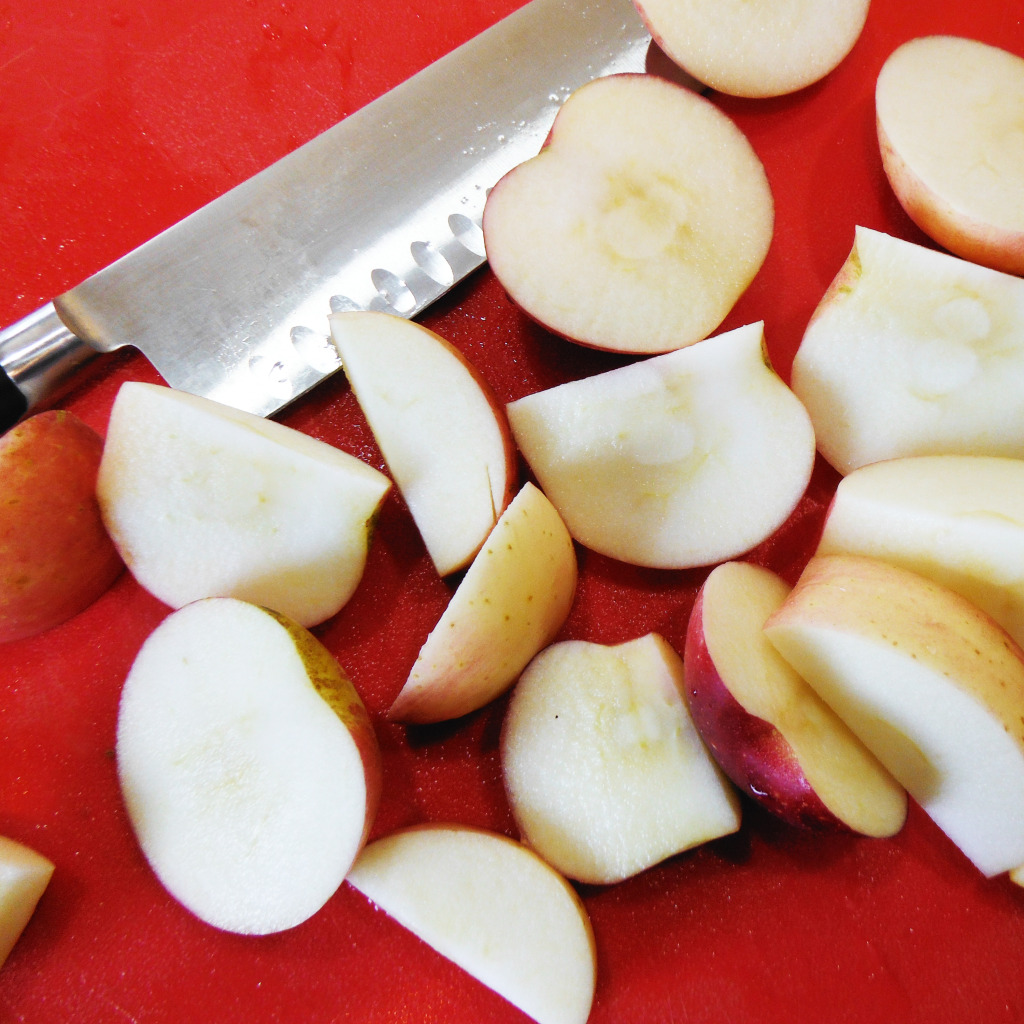
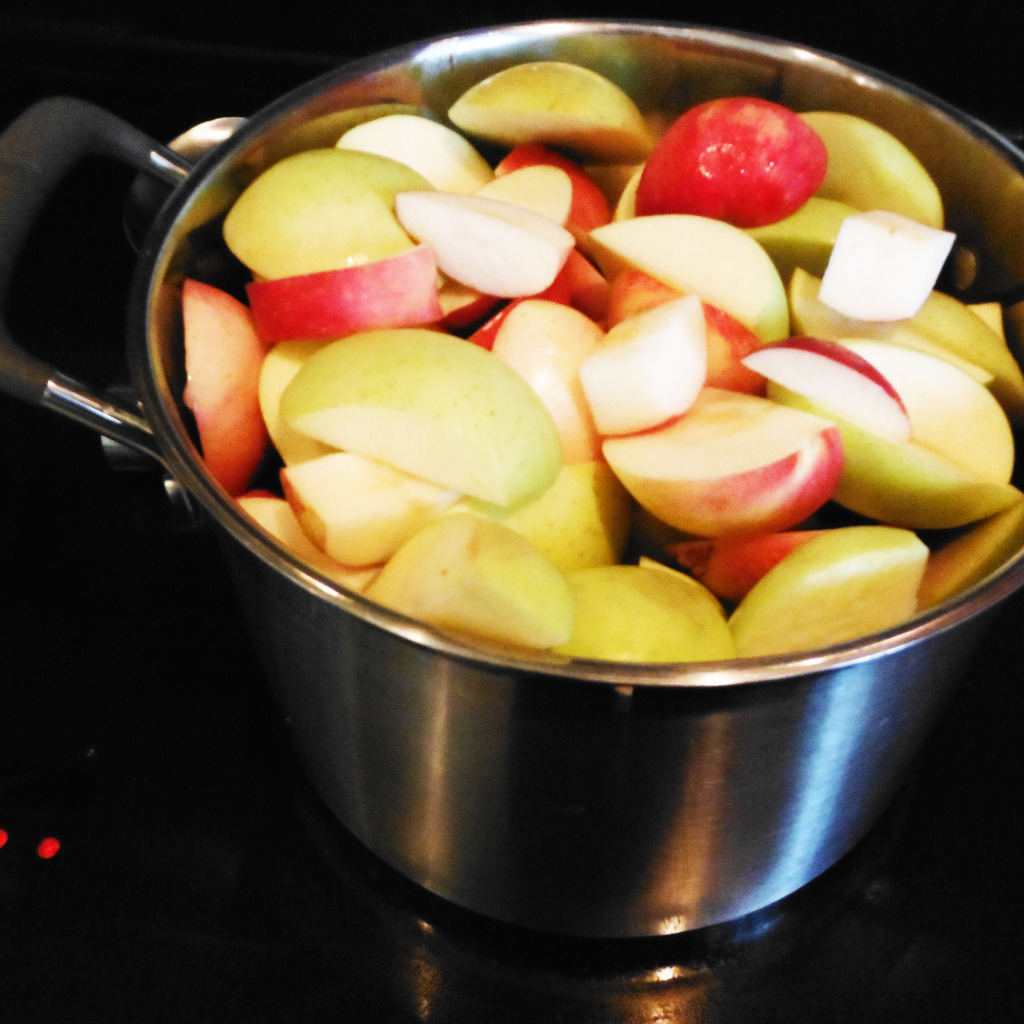
Core and quarter apples and add to a stock pot or a french dutch oven and/or a stock pot. I used one of each. I can’t say enough good things about my red French dutch oven. I use it daily and it’s a great conductor of heat and cooks very evenly. I used 2 stock pots and it filled up both. You can fill the apples all the way to the top of the pots because they will cook down to about 1/2 volume.
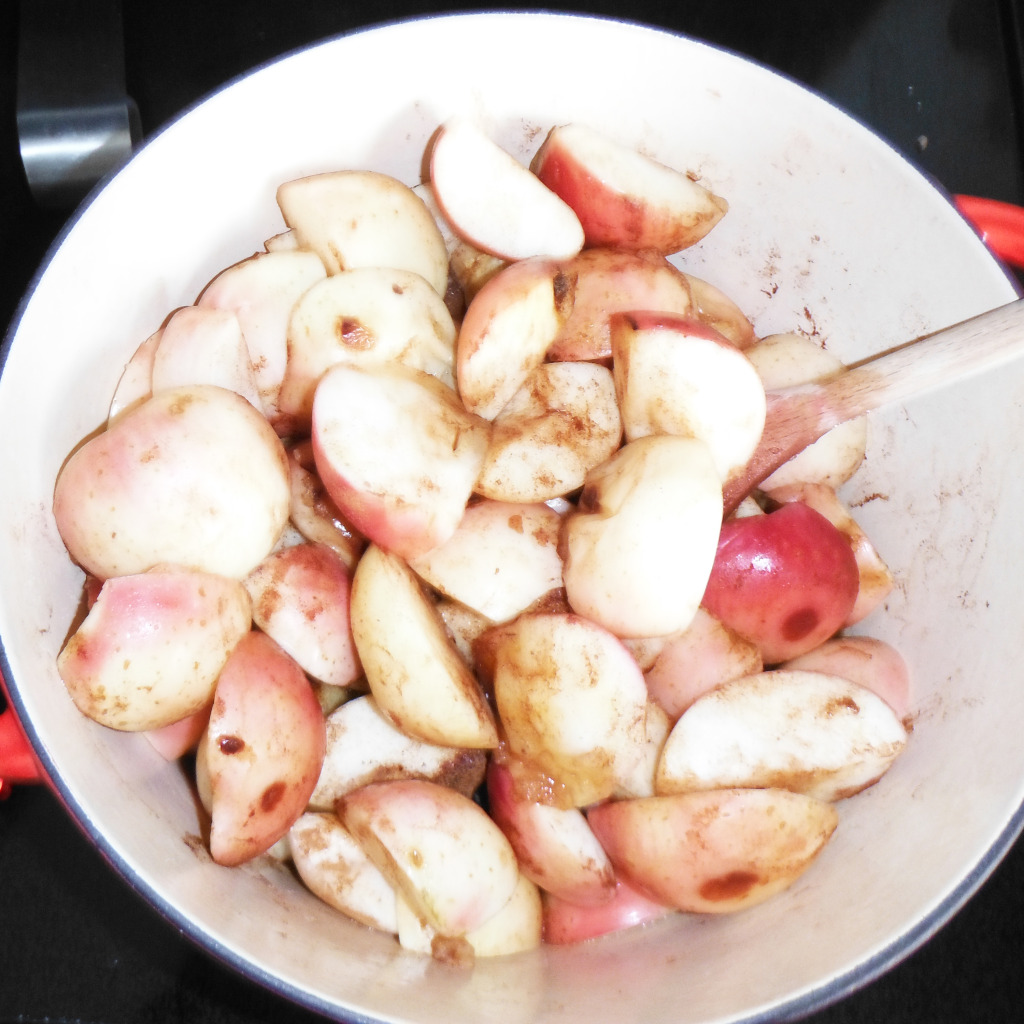
STEP #3
Turn heat on your stove to medium low and let the apples start to boil. Add 2 cinnamon sticks or 1 T. Cinnamon and 1/2 cup sugar. Cover pot. Turn heat down to low and let simmer for about an hour (stirring in 1/2 hour intervals) until apples are very soft and break apart when stirred. Remove cinnamon sticks and discard.
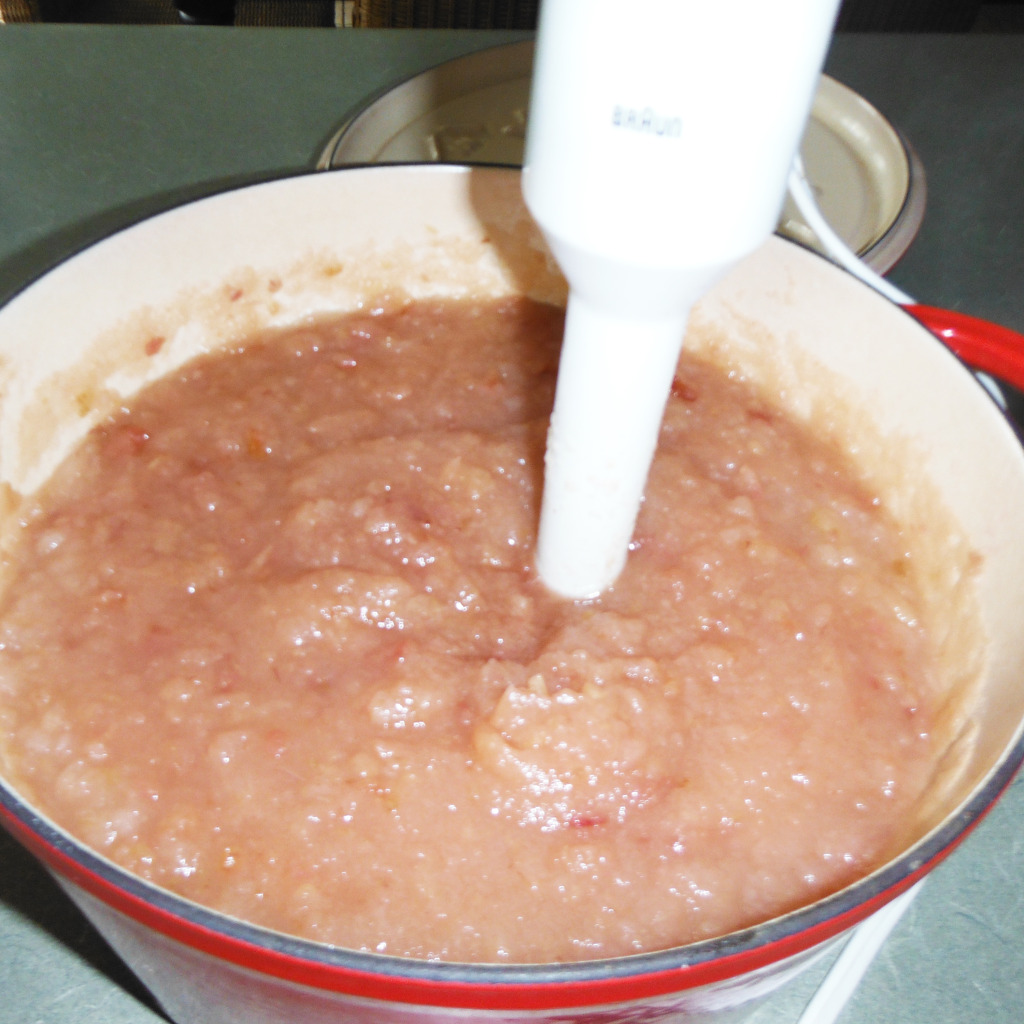
STEP #4
Use an immersion blender to blend the apples to the desired consistency. You can do it right in the pot you cooked in. I like it a little chunky. If you are going to eat the applesauce at this point, just put it in a food storage container that is air tight, and you’re done! It will last for around a week in the refrigerator. If you are going to can or bottle the applesauce, continue to step #5.
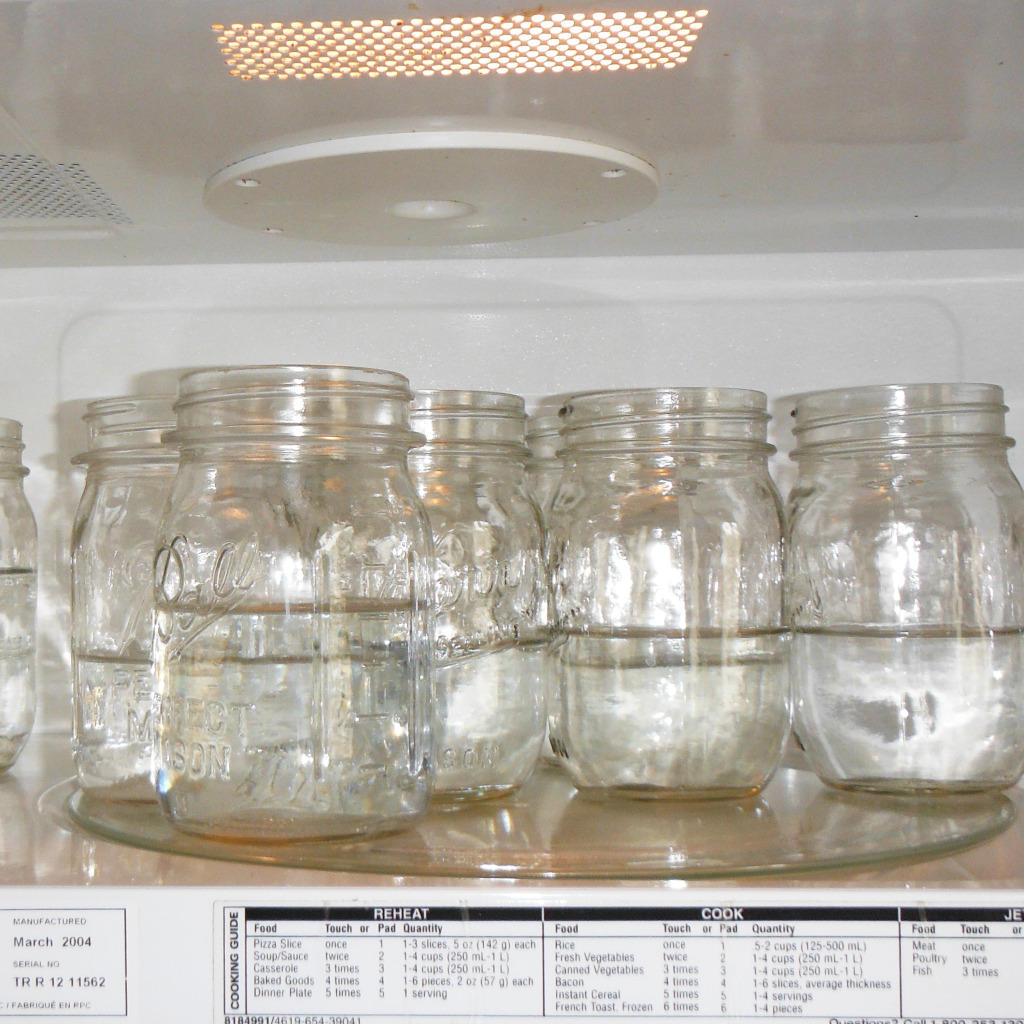
Step #5
Now it’s time to prepare the jars. I feel all along the top of the rim to make sure there are no cracks. If there is a crack, or any kind of indentation, the jar will not seal. I wash the jars with soapy water in the sink, fill them 1/2 way full with water and stick them in the microwave to sanitize them. I microwaved these for about 5 minutes. You just want them to get very hot, and the water boiling if possible. Then just leave them in the microwave to stay warm while you prepare everything else.
Step #6
Boil some water in a small saucepan on the stove. Add lids and boil for 2-3 minutes.

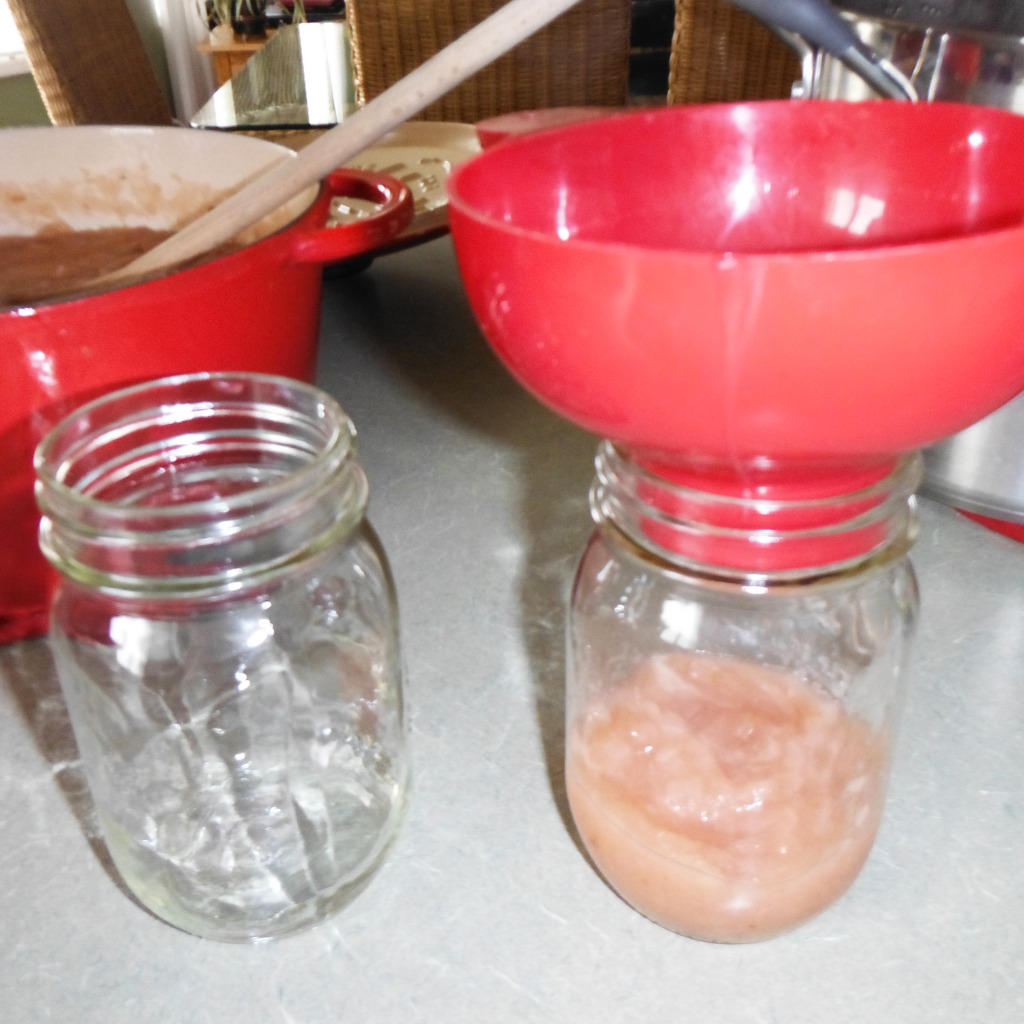
Step #7
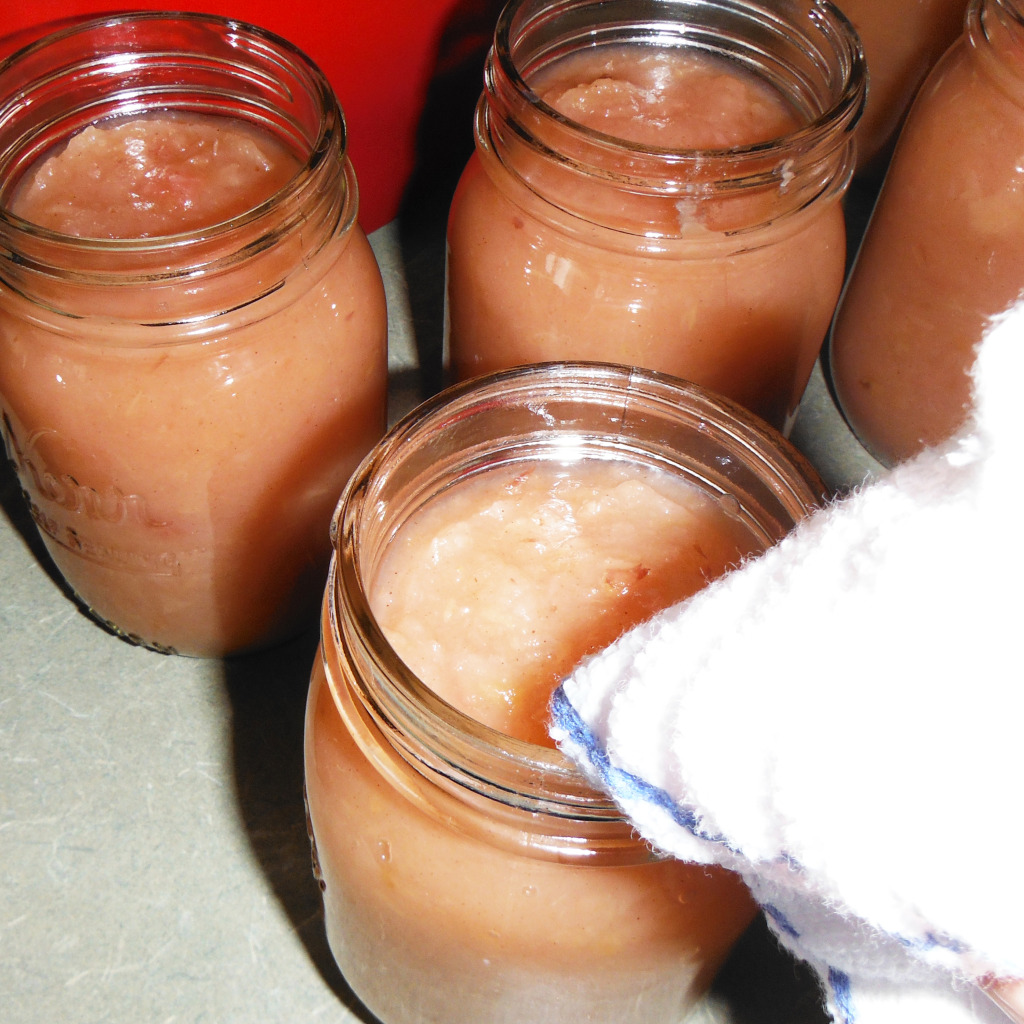
Now you are ready to fill the jars. Dump out the water from the jars and place them on the counter. Use your canning tool set and place the jar filler on top of the jar to fill (so you don’t get applesauce on the rim and interfere with the seal). Use a measuring cup and fill the jars leaving 1/2 inch of space at the top for expansion while canning.
Step #8
Next wash off the rims of the jars with a clean and damp dishtowel to insure it is free of any sauce.
STEP #9
Get the lids out of the boiling water (use the stick tool with the magnet on the end) and place on top of jars. Add rings and tighten slightly, do not make them very tight. This is bad, very bad. Loose on the rims!
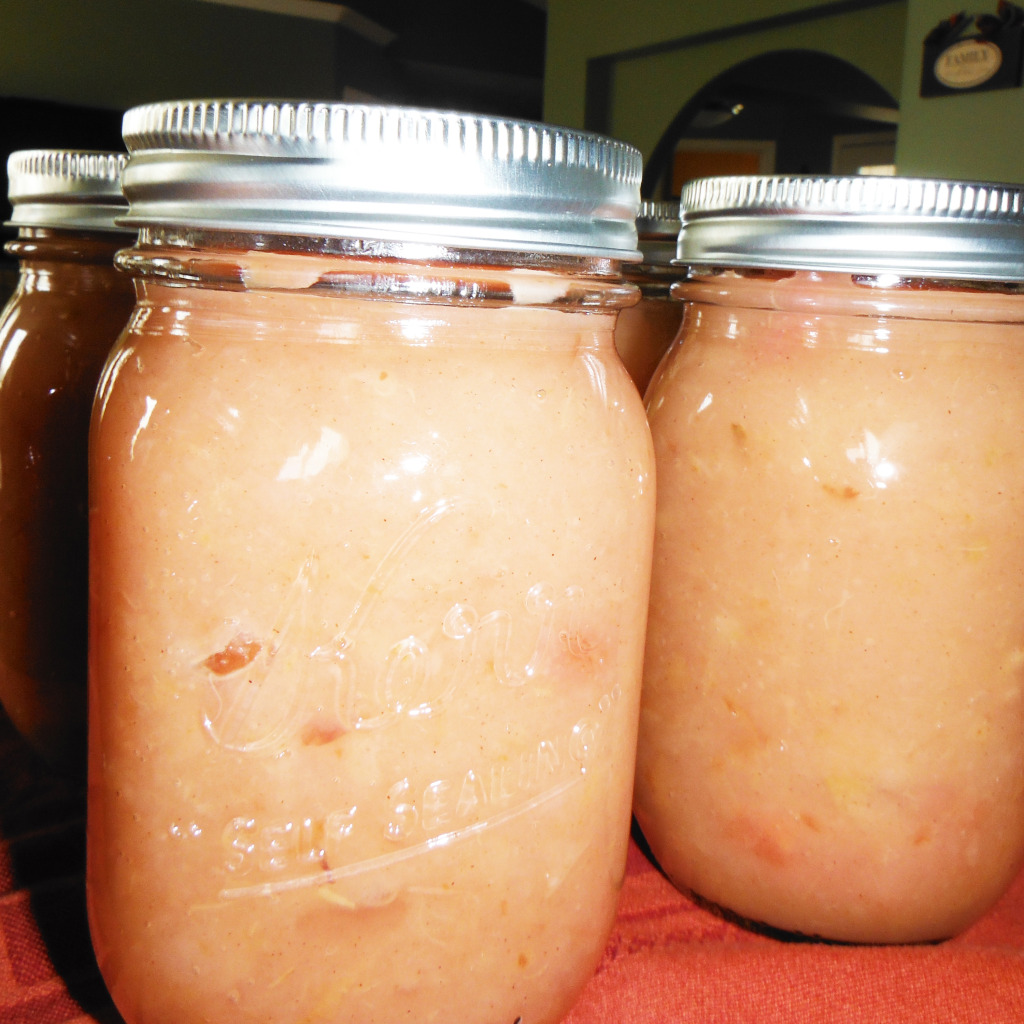
Step #10
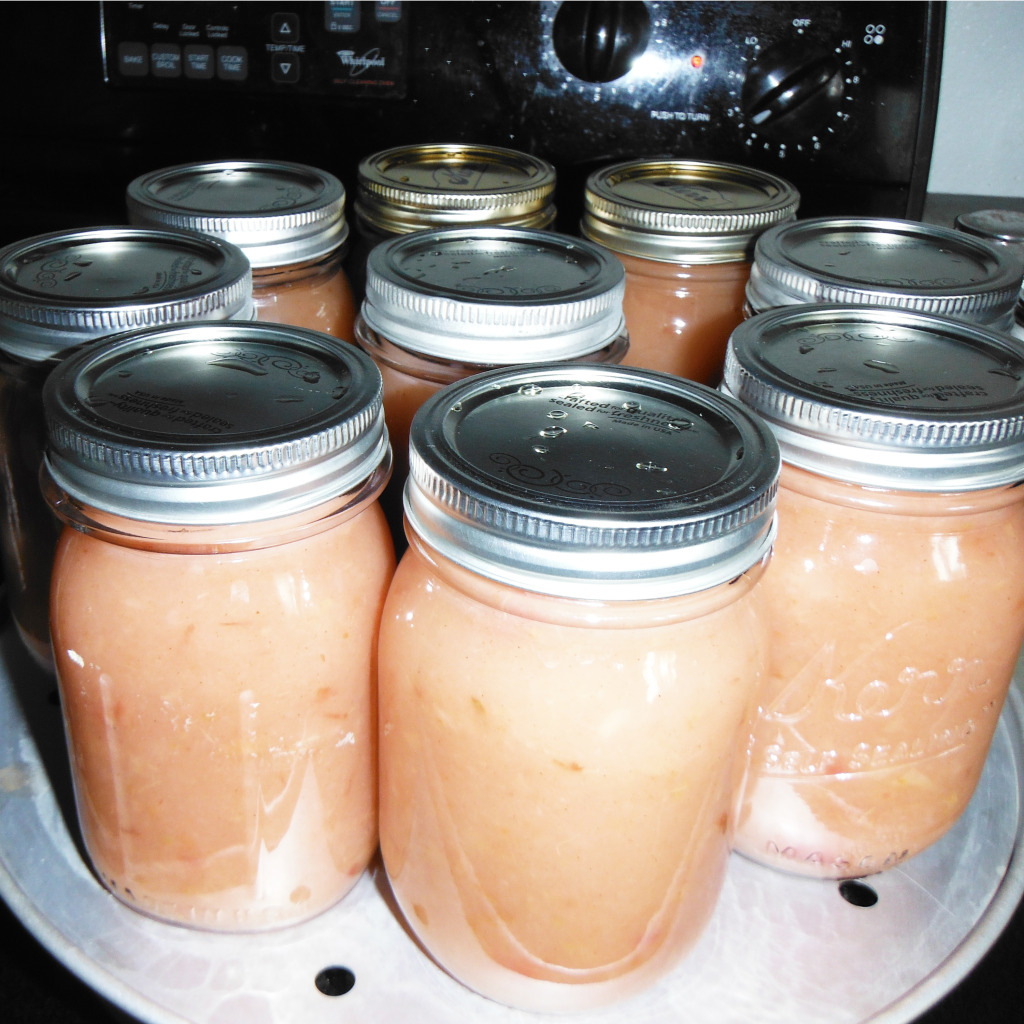
Process with a steam canner according to package instructions. I processed mine for 20 minutes. Make sure you see steam coming out of the side of the lid on the canner (there’s a hole there) before you begin your processing time.
Step #11
After jars have steamed, use your tool to remove the jars from the canner. DO NOT TOUCH THE LIDS, let them do their own thing. If you touch them it will interfere with the seal. Be patient! Set jars on a tea towel on the counter overnight to give them a chance to get a good seal. Popping noises should be music to your ears at this point, this means the jars have sealed!
If you have tips on how to make applesauce for canning, please post a comment!
**Positively Mommy occasionally provides recipes and other information about food preparation. Please keep in mind that it is the reader’s responsibility to determine the value of these recipes, nutritional and otherwise. It is also the reader’s responsibility to determine the safety of the preparation instructions. Recipes are prepared “at your own risk.” We assume no liability, obligation, or warranty with respect to these recipes. Positively Mommy is not responsible for any damage, medically or otherwise, that could result from preparation of these recipes. Visitors must take care to check the instructions provided and determine their value and any possible medical condition that may arise from the preparation instructions and consumption of the ingredients listed in this site’s recipes.
4 comments
Skip to comment form
Mixing kinds of apples leads to a more full-flavored apple sauce. This is true for all fruit jams, syrups, sauces, etc.
Add some applecider vinegar to really make the flavor pop!
I leave my skins on too! It’s awesome. Increases the amountof fiber. Thank you for sharing.
I know, it makes the flavor even better. Why take all the time to peel them?!