


Now that my kids are all in school, it’s time for a new(er) hobby. I’ve decided to take up sewing just because I’m not very good at it and I would really like to improve. I have never used a pattern, and have only sewed very basic things. I find sewing relaxing and it satisfies my creativeness. I just found a new sewing table and chair at an antique store for around $70, and it’s perfect for me and I enjoy using it!
I used to have a basic Brother sewing machine for about 15 years that I used infrequently. It had 2 stitches and it served me well for as long as I had it. I never knew you were supposed to clean it regularly and it was never cleaned and still kept going anyway. I believe it was around $50 to buy and I felt like it was well worth it. However, I plan to take a sewing class at a local university and I needed the capability to do button holes and a few other stitches, so I decided to do a little research and find a different one that would fit my needs better.
First, I went to my local Joann’s store so I could look at some in person and talk to someone who knows about sewing machines. It seemed like their sewing machines were for more advanced users ($2K all the way up to $9K). They had a couple cheaper models ($200+) but they looked like they were really bad quality. Even the salesperson didn’t recommend them at all. I found they weren’t much different or better than what I already had.
Next, I went to Consumer Reports. I wasn’t aware of this, but Brother Sewing Machines rate very high on quality and ease of use. I like ease of use and quality, so it was a fit! Amazon has their highest rated machine but the cost was around $400 (Project Runway Limited Edition). I wasn’t ready for that much of an investment yet, so I headed on down to my local Walmart Store and saw this beauty pictured above. It had all the features of the $400 model as far as I could tell, and it had 20 more stitch choices. I was convinced and I purchased the Brother CS6000i Sewing Machine for around $150! I bought it with the caveat in mind that I would return it within 90 days if it was too hard to use. The sale price that I’ve linked to on Amazon is the same price that I bought it for at Walmart and at Amazon you will save the sales tax.
Here’s my review of Brother CS6000i Sewing Machine
Please note this is my own personal review, I have not been compensated in any way by Brother.
I got the machine out of the box and figured out how to thread the needle and bobbin without reading the instructions and I sewed the curtains pictured above. These 2 things are very easy and have pictures on the sewing machine to help.
The machine sews very easily and I like the tension of the foot pedal. It’s good for very slow, or very fast or in between. I have used thick and thin fabrics and I’m very pleased with the quality and the ease of use.
Next, I really wanted to try the decorative stitches, but you have to change the presser foot for that. I was really worried that it would a pain in the neck to change the presser foot, but once I figured it out, it is EXTREMELY easy and only requires two steps. Pop off the old presser foot and pop on the new one. It takes less than 30 seconds, so no need to be worried about that.
Last, I’d like to review the decorative stitches on the Brother CS6000i sewing machine. Selecting the stitches is very easy to do, just by pushing a + or – button on the machine. The stitches are beautiful and there are enough choices for just about any sewing project I can think of. BUT, I find it very hard to make an even stitch on the decorative stitch (not the straight stitch). When you pull or guide the fabric at all, the decorative stitches get out of whack, crooked and misshapen, and on very thick fabric, it sometimes gets stuck. On thinner fabric it has never been stuck, but it is hard to control the misshapen stitches. I’m pretty sure this is a lack of practice and experience on my part, and I still love the machine, but that element of it will take some practice for you.
 For my first few projects, I have been teaching myself how to use a pattern and do different things (like a dart). I have a few friends who are having babies and I enjoy making baby projects, so I decided to buy this book called Simple Sewing for Baby. I have really, really enjoyed this book. It is very easy to use and perfect for the first pattern projects you ever do. My first project was this baby snuggler. Once I figured out what to do, it was very simple and I’d like to make another one. I love making the matching rattle (pictured) with each project. I made this on the new machine and the fabric and everything needed was around $6 and I still have remnants left over.
Next I sewed a few taggie blankets. I found the cutest cat fabric at Walmart in the fat quarters  (prepackaged) section for .97 cents. I backed it with coordinating lovely baby soft velvety fabric with nubs on it on the back and then sewed in pieces of ribbon that I already had on hand. To complete the project, I added a vintage button found at Planted Earth, a local antique shop (the button must be sewed on very well so as not to be a choking hazard). I sewed a matching giraffe rattle with each item I made and believe it or not, the taggie blanket and rattle only cost about $1 because I could make 4 or so out of each cut of fabric. I think the button was the most expensive part. My friends have been thrilled with their gifts! I made my taggie smaller than what the pattern called for, just because I thought it was quite large. I did a decorative stitch around the edge. Well, because I could with my new sewing machine! The whole project took about 1 hour.
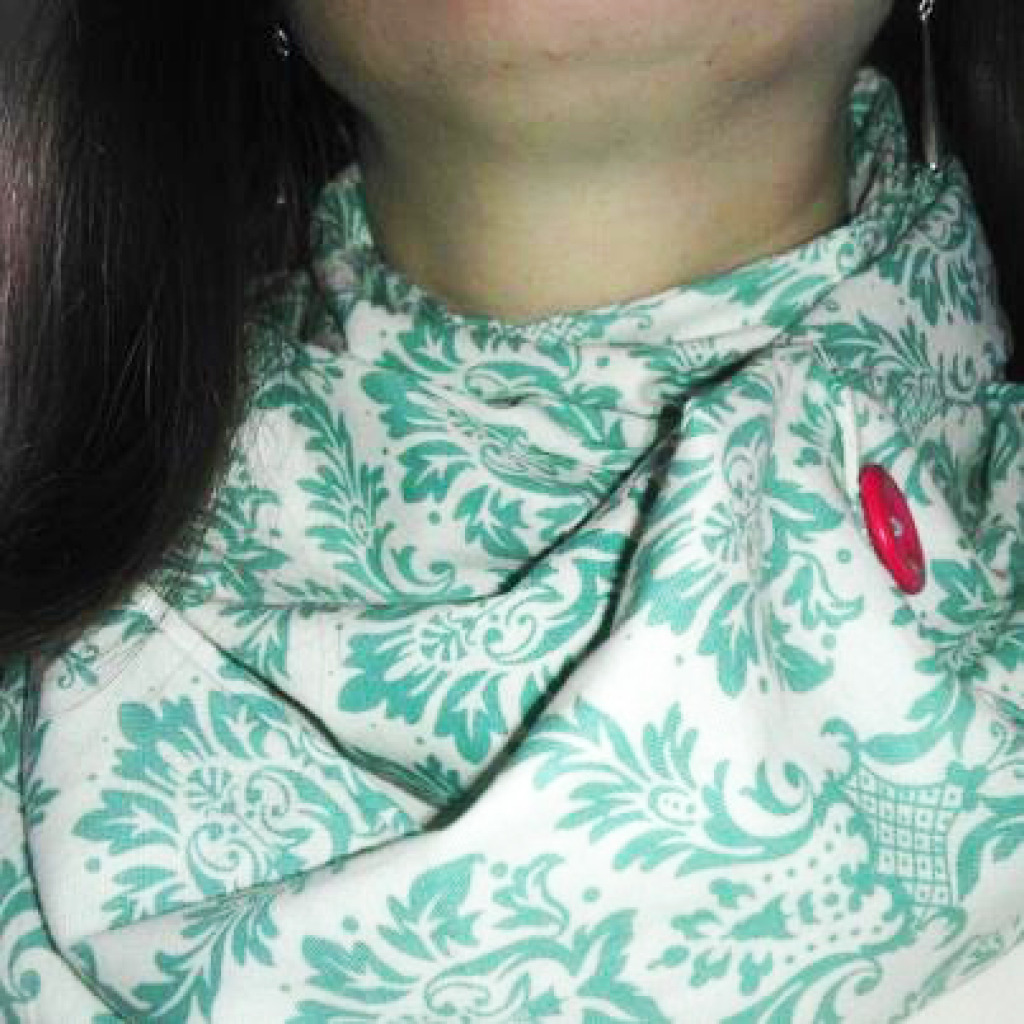 Have you ever seen a scarf person? Someone who wears a different scarf nearly every day? Well, I’m a scarf person. I love scarves and I have quite the collection. I have spent more than $30 on a scarf but most of my scarves are probably in the $15 range. When I went to Joann’s I had a 60% off a cut of fabric so I found this lovely turquoise and cream colored fabric that I just loved. I got 2 yards and it was $6 for the cut with the coupon. I made one scarf out of the fabric but I can make 3-4 more, making the scarf around $2 to make (including the buttons which are .50 cents each). It took about 30 minutes to cut, iron, and sew the vintage buttons on (there’s 3 orange buttons, you just can’t see them all from the photo). Not bad! I got a ton of compliments on it when I wore it to church. I sewed it into an eternity scarf (circle scarf). Because of the fabric, it was a bit warm to wear. It would be better in winter maybe.
Because the above scarf was so easy to sew and so inexpensive for the quality, I decided to look at sheer fabrics at my local Walmart store. I found many pretty sheer colors for around $2-$4 a yard. Sheer fabrics are much harder to cut and work with, but the sewing machine handled the stitching well. This was my first time ever sewing sheer fabric and this scarf took about an hour and has a decorative stitch on the bottom edge of the scarf. It’s a normal scarf, but can be made into an eternity scarf by tying the ends behind your neck and wrapping the scarf around your head. it could even be used as a belt or hair tie. I think it was around .50 cents to make and the color choices are endless. This one is black and gray. Sorry for the terrible photo. I was trying to take a picture of myself wearing it!
I will post a tutorial later on how to sew a scarf with step by step instructions so stay tuned!
This last photo is just another taggie blanket that I made and gave to a friend. They take about an hour to make from start to finish.

Disclaimer:
**All content provided by Positively Mommy is for informational purposes only. Positively Mommy makes no representations as to the accuracy or completeness of any information found on this site or found by following any link on this site. Positively Mommy will not be liable for any errors or omissions in this information nor for the availability of this information. Positively Mommy will not be liable for any losses, injuries, or damages from the display or use of this information. This policy is subject to change at anytime.